Why "Good Enough for Now" Rarely Is
Weekend repairs often happen under pressure — a guest is coming, the weather window is closing, or you simply want the eyesore gone. The instinct to do something quickly is understandable, but certain shortcuts don't just delay the real fix. They actively make it harder and more expensive to do correctly later.
The mistakes below are among the most common reasons beginner DIYers find themselves redoing work within a season. Each one has a straightforward fix — and none of them require special skills, just a little more patience at the right moment. For a broader look at which repairs are genuinely beginner-safe, see DIY repairs that save money vs. those that can backfire.
Hidden Damage Gets Worse, Not Better
Covering a symptom — a stain, a crack, a soft spot — without finding the source is the single costliest mistake in home repair. Water intrusion, rot, and mould grow silently behind cosmetic patches. Before any repair, investigate what caused the problem in the first place.
The Most Common Rushed Repair Mistakes
Each of the errors below follows the same pattern: a step that feels optional turns out to be load-bearing. Skipping it produces a result that looks fine for days or weeks before revealing the problem.
Painting over a damp or dirty surface.
Why it happens: Homeowners often want to move quickly after a repair, especially if the area looks dry to the touch. Surfaces can feel dry on the outside while still holding moisture underneath.
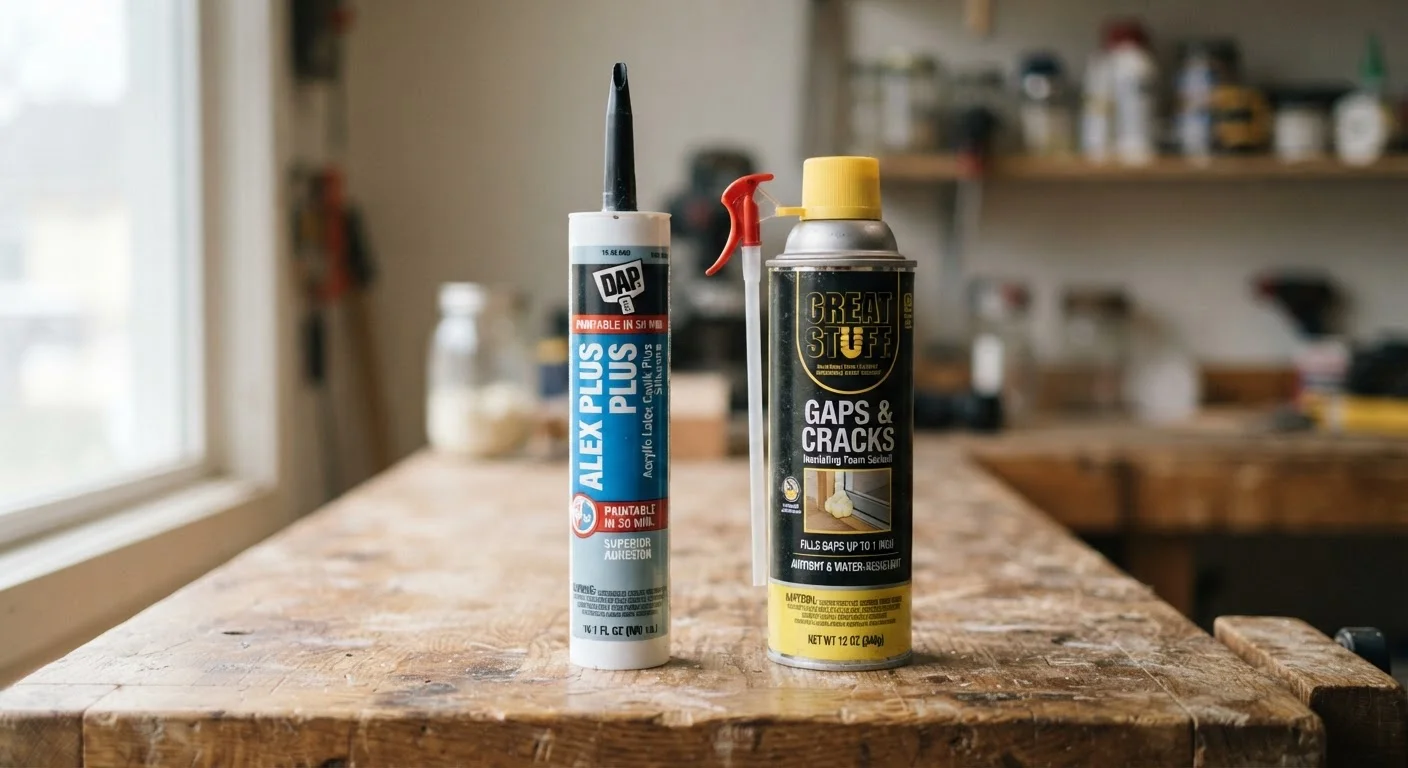
Using the wrong filler for the job — such as lightweight spackling on large holes or exterior gaps.
Why it happens: Most hardware stores stock several filler types with similar packaging, and beginners understandably grab the most familiar option. Lightweight spackling is versatile but shrinks and cracks when applied in thick layers or used outdoors.
Applying caulk over old, cracked caulk without removing the existing bead first.
Why it happens: Scraping out old caulk is tedious, and fresh caulk applied on top looks clean immediately. The problem is that the new layer bonds to the old material, not to the substrate, and fails just as quickly.
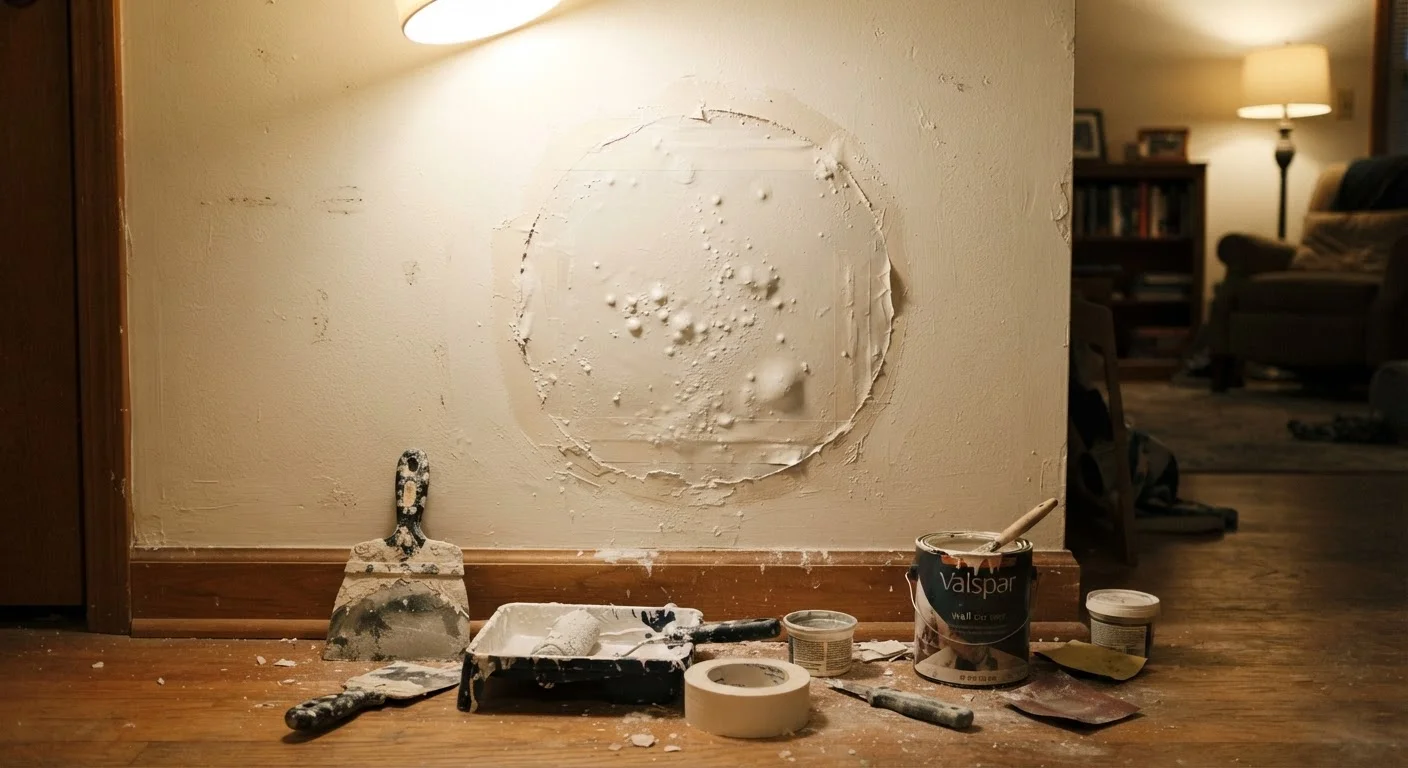
Skipping primer before patching drywall or painting over repairs.
Why it happens: Primer feels like an extra, optional step — especially when the finish paint is a good-quality brand. But repaired spots absorb paint differently than surrounding areas, creating visible dull patches called "flashing."
Not identifying the root cause before making a cosmetic repair.
Why it happens: Fixing what's visible is faster and feels productive. A stain gets painted over, a crack gets filled, and the problem appears solved — until it reappears, often worse.
Don't Ignore Soft or Spongy Drywall
If drywall feels soft or crumbles when you press it, the problem is almost certainly moisture-related. Patching over it without fixing the water source — a leaky pipe, condensation, or a roof issue — will result in repeated failure and potential mould growth inside the wall cavity. Address the cause before the cosmetic fix.
If you're working on painted surfaces specifically, many of these issues overlap with painting prep. Steps most people skip when finishing a painted room covers the surface-prep and application sequence that produces lasting results.
Building Better Repair Habits
The common thread across all of these mistakes is skipping preparation in favor of speed. Good repairs share a consistent structure: clean and dry the surface, address the underlying cause, use the correct materials, and allow adequate curing or drying time before moving to the next step.
35%
Of DIY repairs that fail within one year
Industry surveys of home inspectors consistently find that a significant share of recent DIY repairs show early failure signs, most often traced to surface prep shortcuts.
3–5×
Cost multiplier for ignored water damage
Building industry estimates suggest that unaddressed moisture damage can cost three to five times more to remediate after six months than if caught and fixed immediately.
Slowing down during the prep phase — even by just 20 or 30 minutes — is almost always faster overall than redoing failed work. For surface-specific guidance, backsplash tiling prep and stripping old paint safely both illustrate how much the prep stage determines the outcome. More project ideas for confident beginners are in the DIY & Improvement hub.