Why the Finish Matters More Than the Color
Most beginners focus almost entirely on choosing a color — and then rush through every step that follows. The result is a room that looks acceptable from across the hall but reveals drips, patchy coverage, and tape-torn edges up close. A professional-looking paint job isn't about expensive tools; it's about following the right sequence and not skipping the steps that feel tedious.
This guide walks through the finishing practices that separate a lasting, clean result from one you'll want to redo in a year. If you're also working with challenging existing colors on your walls, see our guide to painting over dark colours before you start.
Fill and sand every hole, crack, and dent before applying any paint.
Paint does not hide surface imperfections — it highlights them. Light rakes across patched-but-unsanded spots and makes them far more visible under a finished coat. Sanding flush ensures a continuous surface that absorbs primer and paint evenly.
Always apply a coat of primer before painting, especially on patched or bare surfaces.
Primer seals the surface, improves adhesion, and creates a uniform base so color goes on evenly. Skipping primer over patches results in dull spots — called 'flashing' — where paint soaks in differently than on surrounding areas.
Apply a minimum of two full coats of paint, with adequate dry time between them.
A single coat almost never provides complete, even coverage. The second coat fills streaks and thin spots left by the first, and it also deepens and enriches the final color. Rushing the second coat onto a wet first coat causes lifting and streaking.
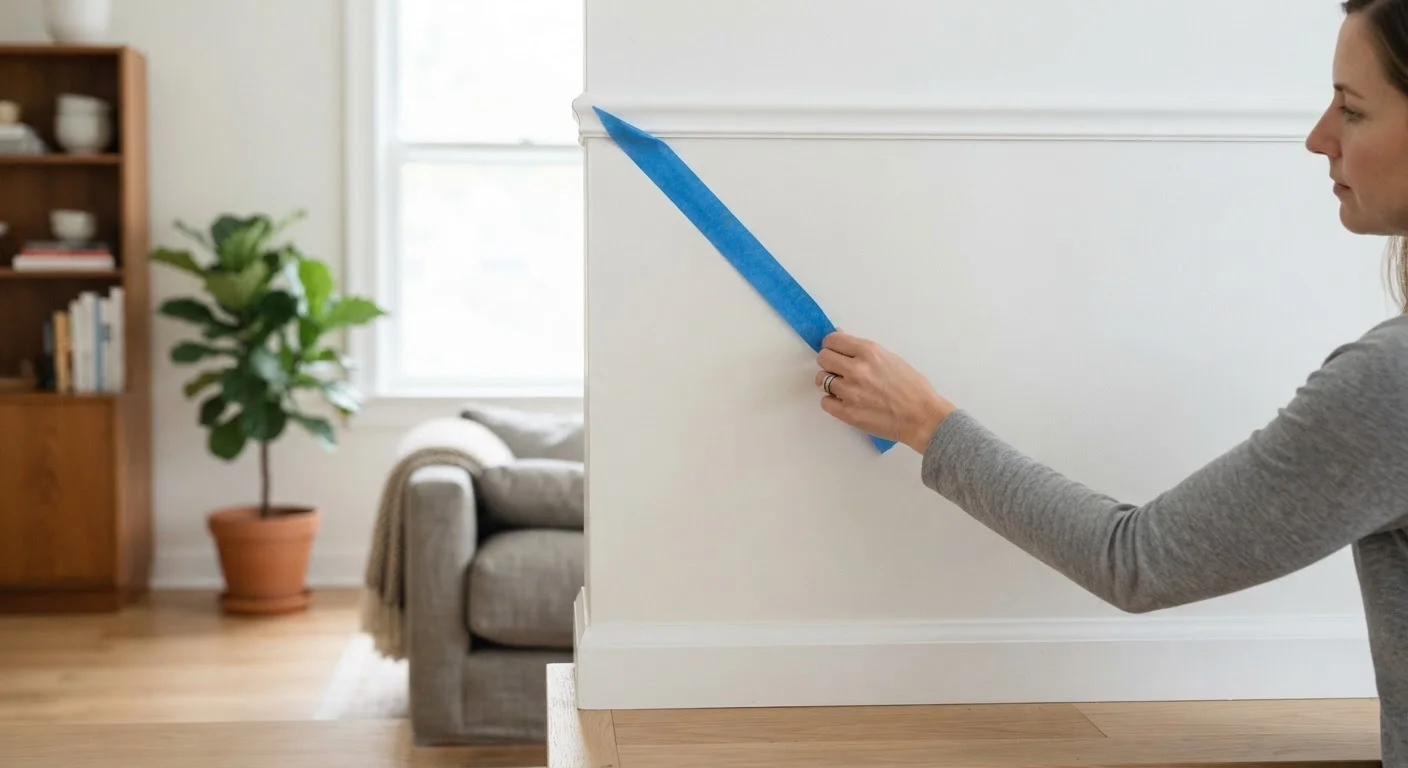
Remove painter's tape while the paint is still slightly tacky, not fully dry.
Fully dried paint bonds to the tape, and pulling it off cleanly becomes nearly impossible — the paint tears away rather than releasing. Removing tape while the paint is just slightly tacky allows it to separate cleanly along the edge.
Score along the tape edge with a utility knife before removing if paint has already dried fully.
If you missed the window and the paint has hardened, pulling tape without scoring will tear chunks out of the wall. Scoring severs the bond between tape and paint film so the edge releases cleanly.
Paint trim, baseboards, and ceiling lines separately and in the correct order.
Painting walls and trim in the wrong sequence leads to overlap marks and messy edges that require repainting. The standard order — ceiling first, then walls, then trim — allows each surface to be cut in over the one below it cleanly.
The Prep Steps That Most Painters Rush
Skipping or shortcutting preparation is the single biggest mistake DIY painters make. Paint applied to an improperly prepared surface will chip, peel, or look uneven within months. Taking an extra hour on prep reliably adds years to the finish.
Sand Between Coats for a Smoother Finish
Even on walls, a very light pass with fine-grit sandpaper (220-grit) between the primer coat and first paint coat makes a noticeable difference. This knocks down any raised fibers or dust nibs that settled while the primer dried. Wipe the surface with a dry cloth afterward before painting. This step takes five minutes and significantly improves how cleanly the final coat lays down.
It's also worth noting that skipping drying time between a patched repair and painting is a particularly common error — one explored further in our look at rushed repairs that create bigger headaches.
Quick Wins You Can Apply Before Your Next Coat
Even if you're mid-project, there are small corrective actions that will meaningfully improve your final result. These don't require starting over — just a few deliberate pauses in the right places.
For larger surface projects that follow similar finishing logic, the backsplash tiling walkthrough demonstrates how prep and sequencing apply equally outside the world of paint.
2–4 hrs
Typical dry time between coats
Most latex interior paints require at least two to four hours between coats, though humidity and temperature can extend this — always check the manufacturer's label.
220-grit
Sandpaper grade for between-coat sanding
Fine 220-grit sandpaper is widely recommended by painting professionals for light sanding between wall coats without cutting through the paint film.