Why Stripping Matters Before You Repaint
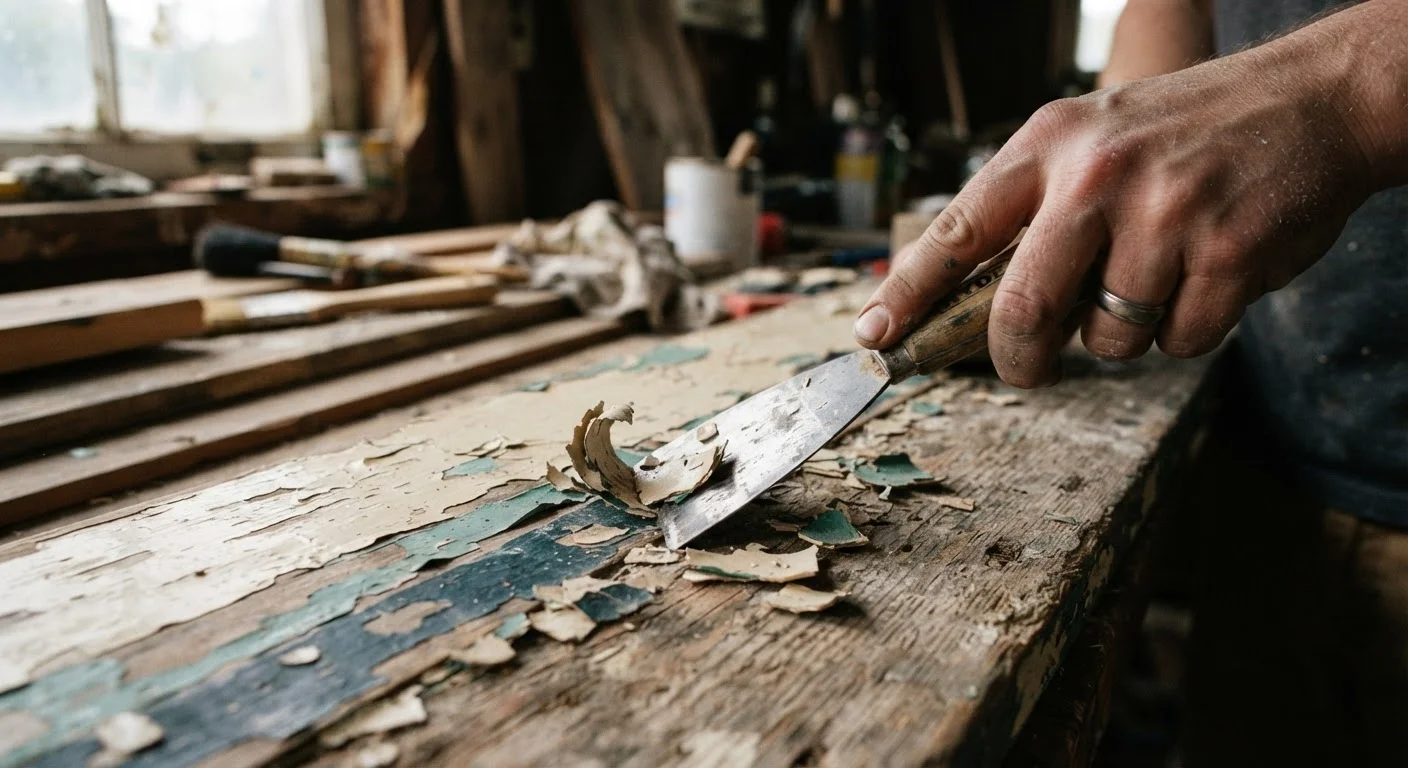
Painting over failing, thick, or peeling paint is one of the most common mistakes DIYers make. New paint applied on top of unstable old layers will bubble, crack, or peel within months — exactly the scenario covered in rushed repair mistakes that create bigger problems later.
Stripping gets you back to a stable, clean surface. It also lets you inspect the substrate — the wood, metal, or masonry underneath — for rot, rust, or damage that paint was hiding. The goal isn't necessarily to reach bare material every time; it's to remove anything that won't bond reliably to a new coat.
Before choosing a method, answer three questions: How many paint layers are present? What is the surface material? And critically: Was the home built before 1978? If yes, have the paint tested for lead by a certified inspector before disturbing it. Disturbing lead paint without proper containment is a serious health hazard, particularly for children and pregnant individuals.
Test Before You Strip Anything
Lead paint test swabs are inexpensive and take only a few minutes to use. Swab an inconspicuous area where several paint layers are visible. A positive result means you must follow lead-safe work practices or hire a certified abatement professional — skipping this step is not a shortcut worth taking.
The Three Main Methods Compared
Each approach has a distinct set of trade-offs. Understanding them helps you match method to material.
| Chemical Stripper | Heat Gun | Sanding | |
|---|---|---|---|
| Best surface type | Detailed wood, trim, moldings | Flat exterior wood | Smooth surfaces, thin coats |
| Handles heavy buildup | Yes — multiple layers | Yes — very effective | No — slow and clogs paper |
| Works on curves/detail | Excellent | Poor — hard to maneuver | Moderate with detail sander |
| Lead paint risk | Low if not sanded after | High — vaporizes lead | High — disperses dust |
| Key safety gear | Gloves, goggles, respirator | Heat-resistant gloves, N95 | N95 mask, vacuum sander |
| Skill level required | Beginner-friendly | Moderate | Beginner-friendly |
| Speed on flat surfaces | Slow (dwell time needed) | Fast | Moderate |
Chemical Strippers
Paste or gel chemical strippers are applied to the surface, left to dwell (typically 15 minutes to several hours depending on the product), then scraped away. They penetrate multiple layers and conform to contours, making them ideal for detailed moldings and turned spindles. The main downsides are fumes and skin hazard — use thick nitrile gloves, eye protection, and ensure strong ventilation. Methylene-chloride-based strippers are fast but the most hazardous; citrus- or soy-based alternatives are slower but gentler.
Heat Guns
A heat gun softens paint so it lifts cleanly with a scraper. It works fastest on flat exterior surfaces with heavy buildup. Set the gun to the manufacturer's recommended range (commonly 400–750°F) and keep it moving — holding it still can scorch wood or, in rare cases, start a fire inside wall cavities. Never use a heat gun on surfaces suspected to contain lead paint: heat vaporizes lead particles, creating an inhalation risk far worse than scraping alone.
Sanding and Abrasive Methods
Electric sanders (orbital, belt, or detail) and hand-sanding work best when paint is thin, sound, and largely intact. Sanding generates dust, so a vacuum-equipped sander or dust mask rated at least N95 is essential. If lead paint is possible, sanding is the highest-risk method for dispersal and should be avoided or handled by a licensed lead abatement professional.
Safety Fundamentals for Every Method
Regardless of which technique you choose, three safety principles apply universally:
- Test for lead first. Inexpensive swab test kits are widely available; a positive result changes everything. Consult a certified lead abatement professional before proceeding.
- Protect your airway. Chemical fumes require respirators with organic-vapor cartridges. Dust requires a minimum N95 particulate mask. Standard dust masks do not filter chemical vapors.
- Control containment. Lay drop cloths, seal HVAC vents in the work area, and bag all stripped material before disposal. Check your municipality's rules — paint waste may require specific disposal.
Never Sand or Heat Lead Paint Without Protection
Heat guns vaporize lead particles into breathable air; sanding disperses them as fine dust that settles throughout a room. Both exposures carry serious health consequences, especially for children. If your test result is positive or uncertain, stop work and consult a licensed lead abatement contractor before continuing.
If the scope of your project feels unclear — for example, paint is peeling from structural members, or you're uncertain about lead — review when to call a professional before starting. Some situations genuinely require a licensed contractor.
Preparing the Surface After Stripping
Once paint is removed, the surface needs attention before any new finish goes on. Residue from chemical strippers must be neutralized — typically by washing with a water-and-baking-soda solution or the product's recommended neutralizer — then allowed to dry completely. Heat-gunned surfaces should be inspected for scorch marks and lightly sanded smooth. Any sanded surface should be wiped down with a tack cloth to remove dust.
Fill cracks, holes, and dents with an appropriate filler for the substrate (wood filler for timber, masonry filler for concrete), allow full cure time, and sand flush. Only then is the surface ready for primer and a new topcoat. For guidance on choosing the right finish after all this prep, see paint finishes explained.
Taking the time to strip and prep properly is what separates a lasting result from one that fails within a season. The extra hours invested at the start pay off in years of durability.