Why Composting Belongs in Every Beginner's Garden
Composting is simply the managed decomposition of organic material — kitchen scraps, fallen leaves, grass clippings — into a dark, crumbly material that improves soil health. It sounds technical, but the biology does most of the work. Your job is to set up the right conditions and stay consistent.
Home compost is one of the most effective ways to improve your garden's foundation. Understanding how it feeds your plants pairs well with knowing what your soil already contains — see our guide to soil types and improvement for context. Composting also fits naturally into a broader gardening routine, whether you're working with raised beds, pots, or a border strip — all covered in the complete introduction to gardening from the ground up.
Composting Works in Small Spaces Too
Even a balcony gardener can compost. Compact tumbler-style bins and countertop fermentation systems (called bokashi, a Japanese-derived method of fermenting food waste with beneficial microbes) make it practical in small spaces. Our article on growing in small outdoor spaces has more ideas for tight footprints.
Even a balcony gardener can compost. Compact tumbler-style bins and countertop fermentation systems (called bokashi) make it practical in small spaces. Our article on growing in small outdoor spaces has more ideas for tight footprints.
What to Add — and What to Keep Out
Healthy compost depends on two categories of material, commonly called greens and browns:
- Greens (nitrogen-rich): fruit and vegetable peelings, coffee grounds, tea bags without staples, fresh grass clippings, and plant trimmings.
- Browns (carbon-rich): cardboard torn into small pieces, dry fallen leaves, straw, paper bags, and woody prunings chipped small.
A rough ratio to aim for is two parts browns to one part greens by volume. Too many greens creates a wet, smelly pile; too many browns slows everything down.
Foods That Ruin Your Compost Bin
Never add meat, fish, dairy, cooked food with oils or sauces, pet waste, or diseased plant material to your compost. These attract rats and other pests and generate foul-smelling gases. Keeping these items out is the single most important factor in maintaining a clean, odour-free bin.
Never add meat, fish, dairy, cooked food with oils or sauces, pet waste, or diseased plant material. These attract rats and other pests and generate hydrogen sulphide — the rotten-egg smell most people associate with bad compost. Keeping these out is the single biggest factor in a clean, odour-free bin.
Setting Up and Running Your Compost Bin
Before you start adding material, a few minutes of setup makes the whole process easier. Follow the steps below to get your bin working efficiently from day one.
Choose and position your bin
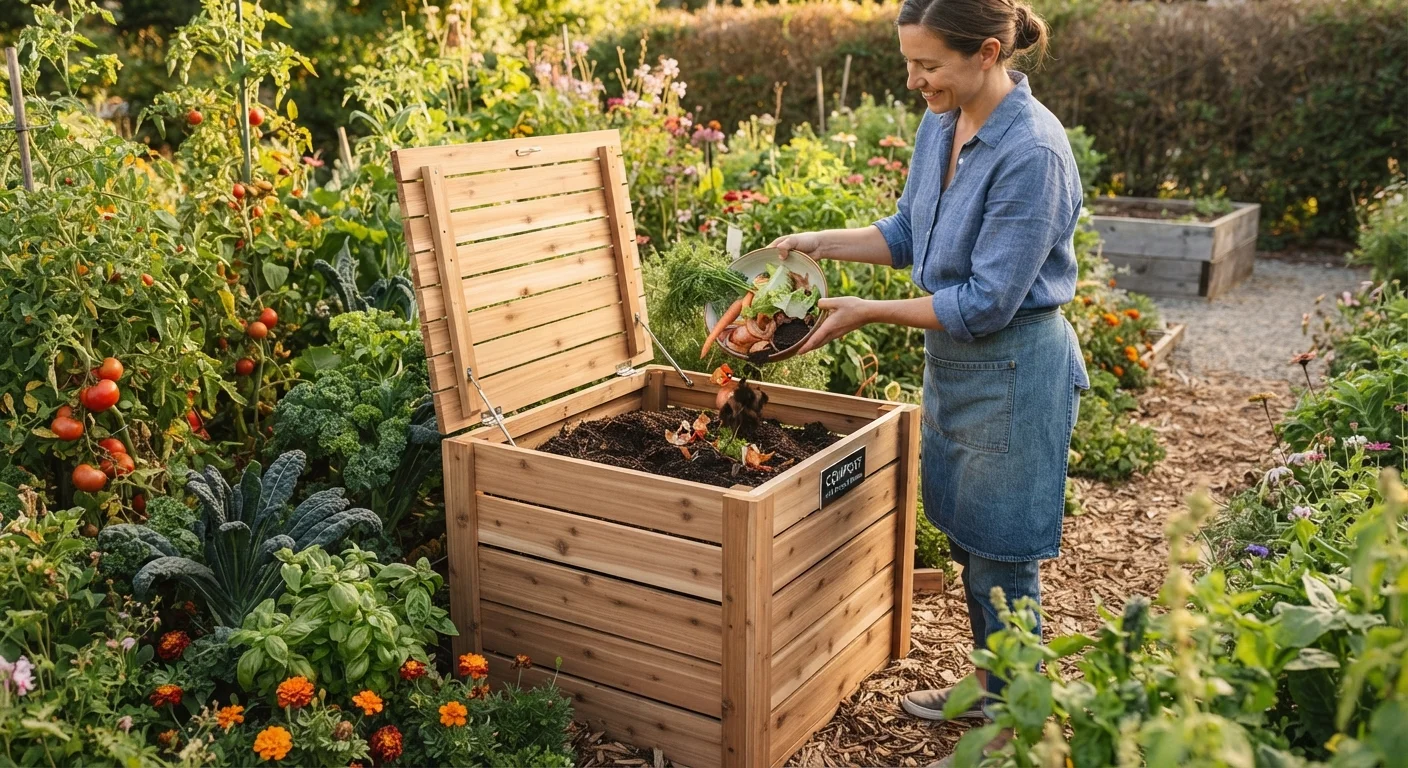
Place your bin directly on soil or grass — not on concrete — so worms and beneficial organisms can enter from below. Choose a spot with partial shade; full sun dries the pile out too fast, while dense shade slows decomposition. A spot close enough to the kitchen door that adding scraps feels convenient is ideal.
Create a base layer of browns
Line the bottom of the bin with a 10–15 cm (4–6 inch) layer of coarse browns — small woody sticks, scrunched cardboard, or straw. This base allows air to circulate underneath the pile and absorbs excess moisture from the greens added on top.
Add kitchen and garden scraps in layers
Add greens and browns in alternating layers, roughly maintaining the two-to-one browns-to-greens ratio. Chop or tear material into smaller pieces — ideally no larger than your fist — to speed decomposition. Smaller surface area means microbes get to work faster.
Monitor moisture levels
The pile should feel like a wrung-out sponge — damp throughout but not dripping. Squeeze a handful: if no water runs out and it holds its shape loosely, moisture is right. If it's dry and dusty, add a little water and mix in more greens. If it's soggy and smells sour, add more browns and turn it to introduce air.
Turn the pile regularly
Use a garden fork or compost aerator to turn the contents every one to two weeks. Turning moves material from the cooler outer edges into the warm centre and, critically, reintroduces oxygen. Aerobic (oxygen-using) decomposition is fast, efficient, and odour-free. Anaerobic decomposition — what happens in an unturned, airless pile — is what produces bad smells.
Harvest and use your finished compost
Finished compost is dark brown to black, smells earthy (like forest floor), and you can no longer identify the original materials. Scoop it from the bottom of the bin where decomposition completes first. Dig it into planting beds, mix it with potting soil, or spread a 5 cm (2 inch) layer as mulch around established plants. It feeds the soil biology that feeds your plants.
Once your compost is ready — typically dark, earthy-smelling, and crumbly after two to six months — dig it into vegetable beds or use it as a mulch layer around plants. If you're planning a first food garden, our practical vegetable garden starting guide explains exactly how to put that finished compost to work at planting time.