What Each Material Actually Is
Grout and caulk are both gap-filling materials, but they are made differently and behave very differently once applied. Understanding what each is made of helps explain why placement matters so much.
Grout is a cement-based (or, less commonly, epoxy-based) compound mixed to a paste and packed into the spaces between tiles. Once it cures, it becomes hard and rigid — which is exactly what you want when tiles need to hold their position on a flat surface. Because it's rigid, though, grout can't flex without cracking.
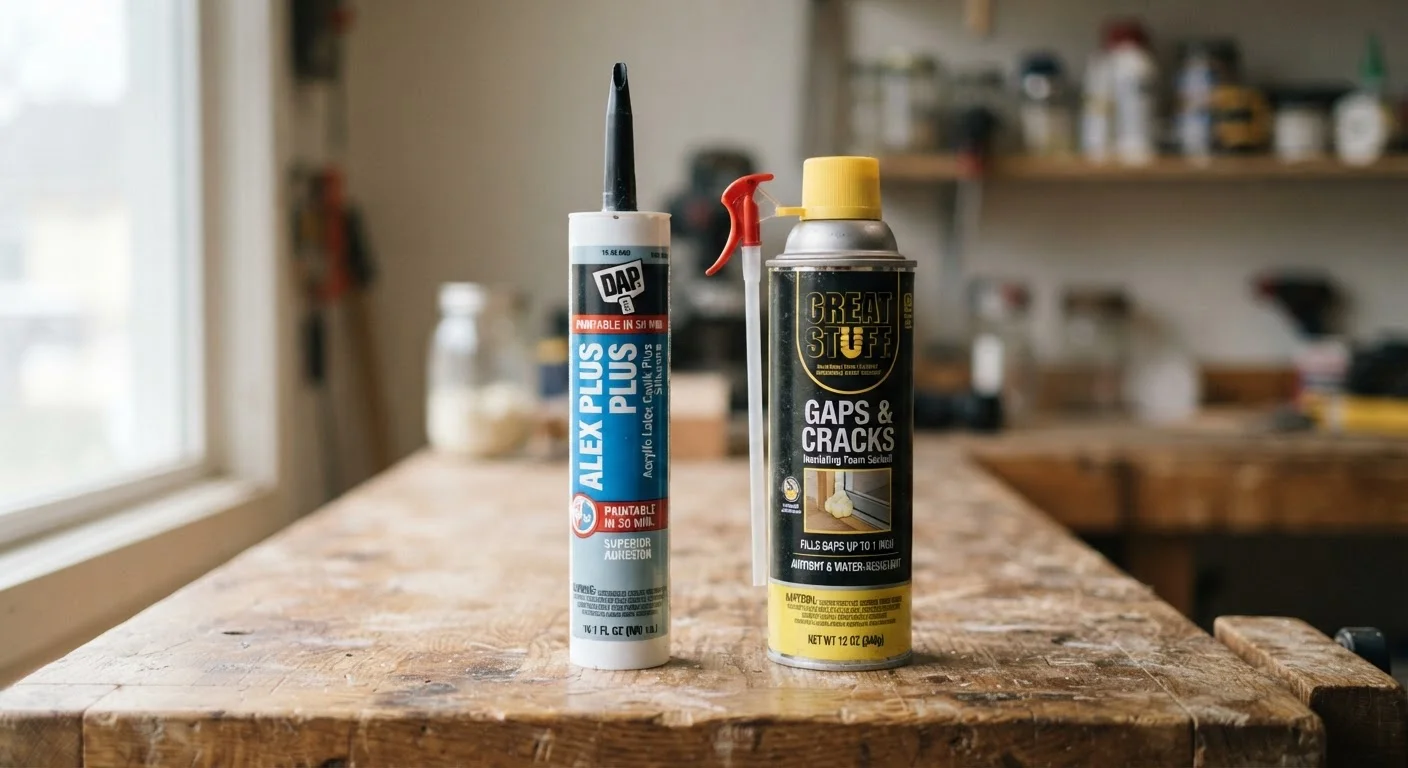
Caulk is a flexible sealant — typically silicone or acrylic latex — that remains slightly pliable after it cures. That flexibility is its defining feature. Where surfaces shift, expand, or contract (which happens with temperature and humidity changes), caulk moves with them instead of breaking apart. For a deeper look at the two main caulk types, see our guide to silicone vs. acrylic caulk.
| Criterion | Grout | Caulk |
|---|---|---|
| Composition | Cement- or epoxy-based | Silicone or acrylic latex |
| Flexibility after curing | Rigid — does not flex | Pliable — moves with surfaces |
| Best placement | Flat tile-to-tile joints | Corners, transitions, plane changes |
| Water resistance | Moderate (needs sealing on porous grout) | High when properly applied |
| Typical failure mode | Cracking at stressed joints | Peeling or mold if surface not clean |
| Paintable | Yes, with appropriate paint | Acrylic: yes; Silicone: generally no |
Where Each Material Belongs
The rule of thumb is straightforward: grout fills joints within a flat tile field; caulk seals joints at changes of plane, angle, or material.
Use Grout Here
- Between wall tiles running across a single flat surface
- Between floor tiles throughout a room
- In the joints of a backsplash — tile-to-tile gaps only
Use Caulk Here
- The inside corners of a tiled shower where two walls meet
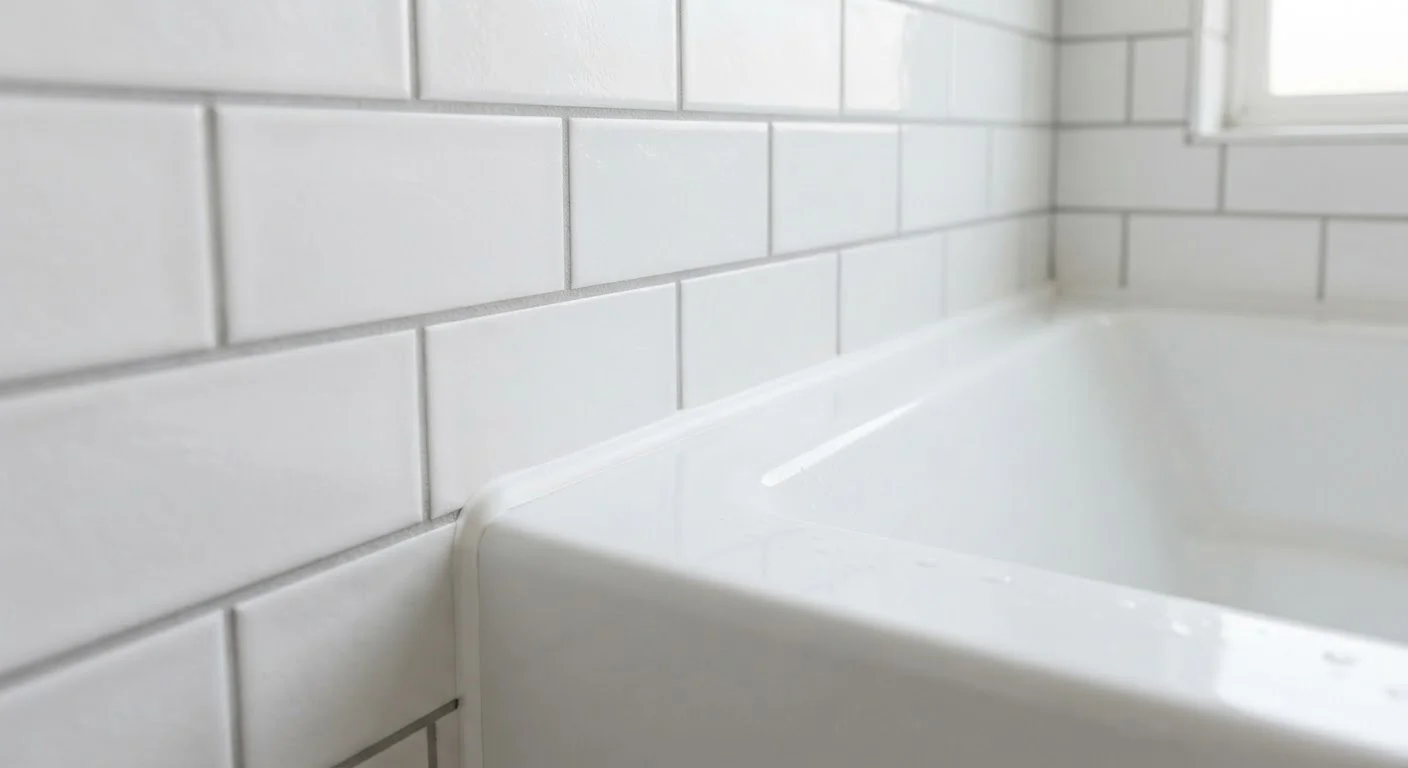
- Where a tiled wall meets a bathtub rim or shower pan
- The joint between a tile floor and a wood baseboard
- Any transition between tile and a different surface material
The Bathtub Corner Is Almost Always Caulk
One of the most common beginner mistakes is grouting the joint where the tub meets the tile wall — it looks like a tile joint, so grout seems logical. But that joint sits at a change of plane and experiences constant movement. Industry guidance from tile installation standards consistently calls for a flexible sealant (caulk) at all changes of plane in wet areas. When in doubt at that location, caulk it.
A practical way to remember it: if both surfaces on either side of the joint are tiles running flat, reach for grout. If the joint is a corner, an edge, or where tile meets something else entirely, reach for caulk. If you're also working on a backsplash project, see our backsplash tiling walkthrough for full placement guidance.
Why Using the Wrong One Causes Problems
Substituting one material for the other is one of the most common — and preventable — tiling mistakes beginners make.
Grout in a corner or at a tub edge will almost always crack. When the tub flexes under weight or temperature changes, the rigid grout joint can't absorb that movement. Water then infiltrates the crack, leading to mold, mildew, and eventually damaged backer board or subfloor. If you're seeing this pattern repeat itself, learn why grout cracks keep coming back — the fix is usually to switch to caulk at those stress points.
Caulk between flat tile joints is a different problem. It won't crack, but it looks soft and uneven, it's harder to keep clean, and it doesn't match the texture or color of the surrounding tile joints. Grout lines are uniform; caulk lines are not.
#1
Cause of shower caulk failure
Applying new caulk over old caulk without removing the existing material is widely cited by tile professionals as the primary reason caulk fails prematurely.
3–5 years
Typical caulk replacement interval in wet areas
Home maintenance guidelines generally recommend inspecting and replacing shower and tub caulk every three to five years, depending on moisture exposure and product quality.
The bottom line: each material performs perfectly — but only when placed where it was designed to go. For a broader comparison of all three gap-filling options, see our guide to grout, caulk, and sealant.
Application Tips for Beginners
Regardless of which material you're applying, surface preparation is what determines whether it lasts.
For Grout
- Remove any loose or crumbling old grout with a grout saw or oscillating tool.
- Wipe joints clean and let them dry completely.
- Mix grout to a peanut-butter-like consistency (if mixing from powder).
- Press grout into joints with a rubber float held at a 45-degree angle, then wipe away excess with a damp sponge in circular motions.
- Allow to cure per the manufacturer's guidance before exposing to moisture.
For Caulk
- Remove all old caulk with a plastic scraper or caulk remover tool. Leaving old caulk under new caulk is a leading cause of early failure.
- Clean the joint with rubbing alcohol and let it dry fully.
- Cut the caulk tube tip at a 45-degree angle to match your joint width.
- Apply in one steady, continuous bead. Move at a consistent pace to avoid thin or thick spots.
- Smooth with a wet fingertip or a caulk tool, then leave undisturbed for the full cure time.
If you're unsure which type of caulk to buy for a specific area, our silicone vs. acrylic caulk guide explains the differences clearly.