Why the Same Crack Keeps Returning
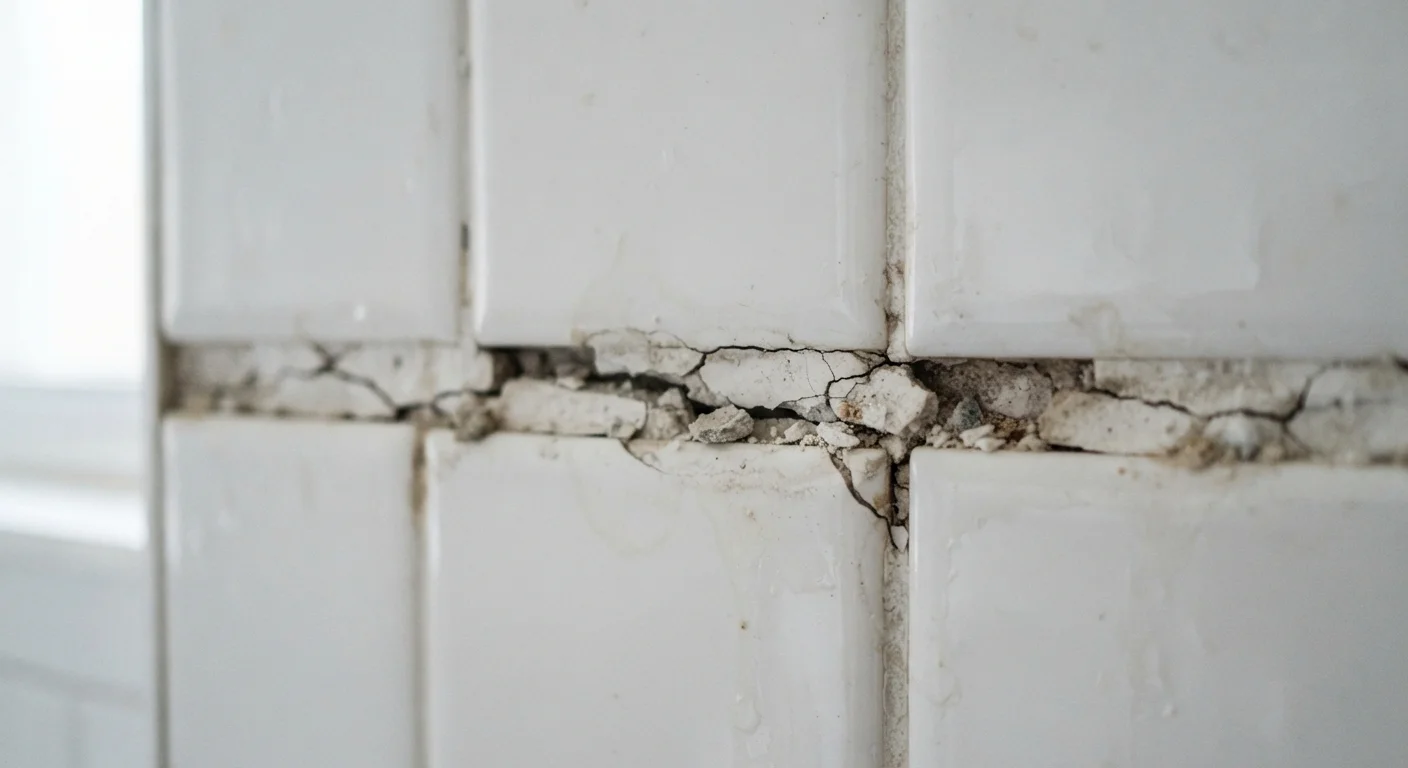
If you've regrouted the same section of tile more than once and the crack has come back, the grout itself isn't the problem — it's a symptom. Grout is a rigid, cement-based filler. It holds tiles in alignment and keeps moisture out of the substrate (the surface beneath the tiles), but it has almost no flexibility. Any movement, moisture intrusion, or adhesion failure beneath or around it will cause it to crack again, no matter how carefully it's applied.
Understanding what's driving the failure is the essential first step. Common root causes include subfloor or wall flex, an unsuitable grout type, moisture working in from behind, or simply applying new grout over old without proper removal. This is why home maintenance myths like "just patch it" end up costing more over time.
Don't Skip Structural Investigation
If grout cracks appear in the same spot repeatedly — especially in floor tiles — the subfloor beneath may be flexing, rotting, or inadequately supported. Regrouting over a structurally compromised surface will always fail. Before any repair, press on the tiles around the cracked area to check for movement or a hollow sound. If tiles shift or feel soft underfoot, consult a licensed contractor before proceeding.
The Most Common Mistakes — and How to Fix Them for Good
Most recurring grout failures can be traced to one or more of the following mistakes. Recognizing which one applies to your situation is what turns a temporary patch into a permanent repair.
Applying new grout directly over old, cracked grout without full removal.
Why it happens: It looks faster and feels like a reasonable patch, but grout doesn't bond well to existing grout — especially grout that has already failed.
Using sanded grout in joints narrower than 1/8 inch, or unsanded grout in wide joints.
Why it happens: Many beginners grab whatever grout is available without checking the joint width specification on the packaging.
Grouting corner joints and movement joints where two surfaces meet at an angle.
Why it happens: Corners look just like flat joints, so it's natural to treat them the same way. But rigid grout can't accommodate the natural movement that occurs where walls meet floors or tubs.
Rushing the cure time by exposing grout to water too soon.
Why it happens: Impatience is understandable after a repair, but grout needs time to cure fully before it can resist moisture — most products require at least 24–72 hours before contact with water.
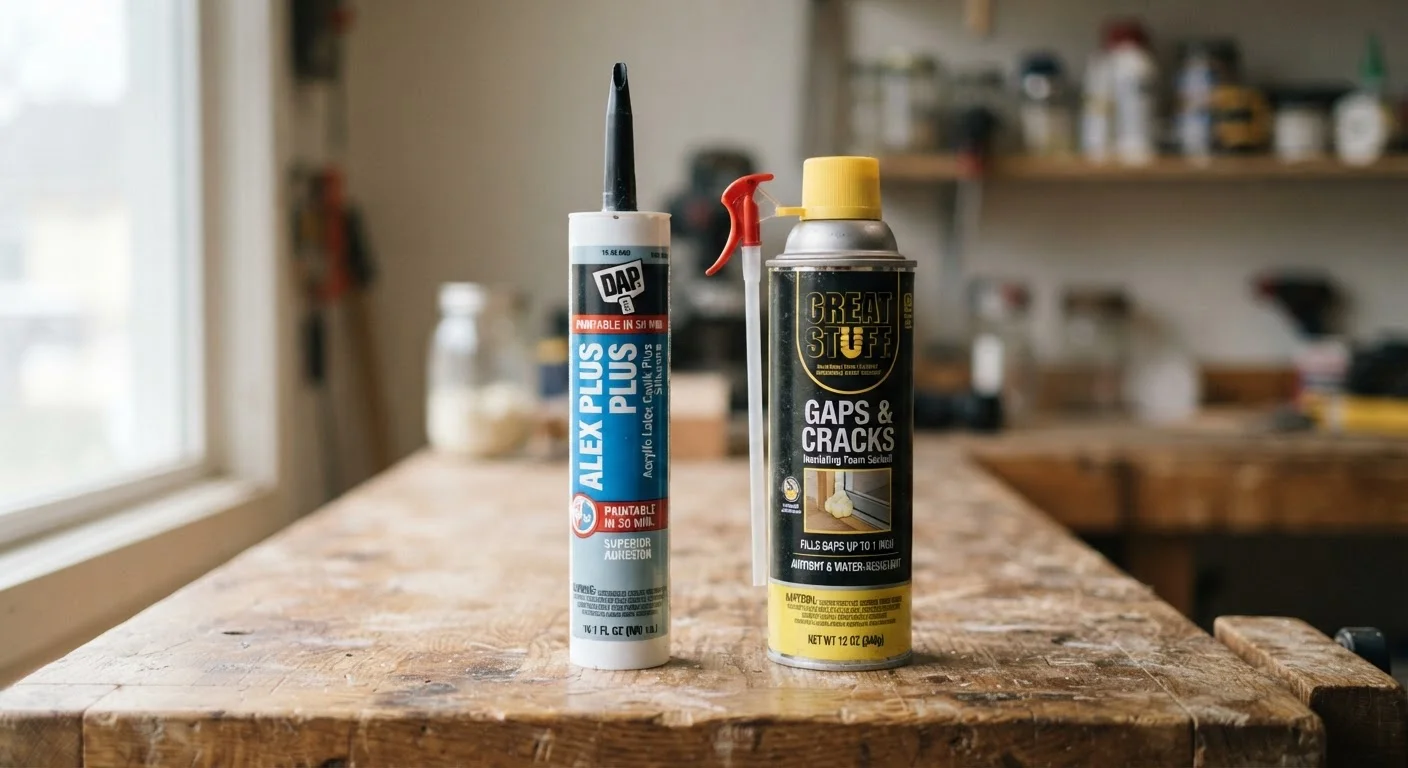
Neglecting to seal grout after installation or repair.
Why it happens: Sealing is often seen as an optional finishing step, but most cement-based grouts are porous and will absorb moisture and cleaning chemicals without a sealer.
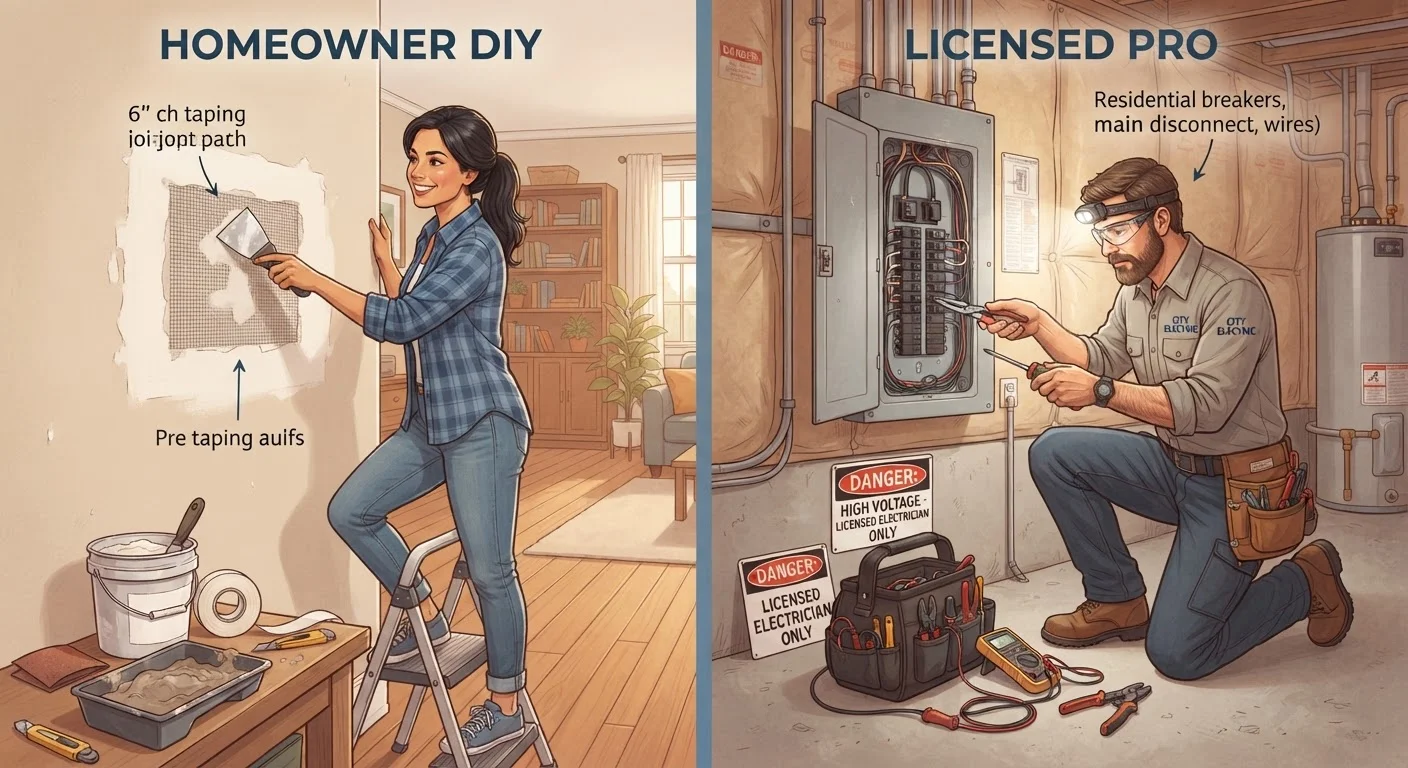
Addressing the actual cause — not just the visible crack — is what separates a lasting repair from a cycle of short-term fixes. For other repairs where thorough prep makes the difference, our article on patching drywall correctly shows how the same principle applies across different materials.
A Simple Pre-Repair Checklist
Before mixing any grout, run through these checks to make sure you're solving the right problem:
- Test for tile movement. Press firmly on surrounding tiles. If they flex, shift, or sound hollow, the adhesive (called thinset) beneath may have failed. Re-adhering loose tiles must happen before regrouting.
- Identify all movement joints. Mark any corners or joints between different surfaces — these must get caulk, not grout.
- Match the grout type. Note your joint width and choose sanded or unsanded grout accordingly. Epoxy grout is worth considering in wet areas for superior moisture resistance.
- Clear and clean the joint. Remove old grout mechanically, vacuum dust, and wipe down with a damp sponge. Let the joint dry fully before applying new material.
- Plan for sealing. Have penetrating sealer on hand and factor in the cure time before the area will be back in use.
2–3 mm
Minimum old grout removal depth for good adhesion
Tile industry guidelines consistently recommend removing grout to this depth to ensure new grout has a clean surface to bond with.
72 hours
Typical minimum cure time before water exposure
Most cement-based grout manufacturers specify a minimum of 24–72 hours of dry time before the grouted surface should contact water.
Taking an extra hour to complete this checklist before starting work is what separates a repair that holds for a decade from one that cracks again by winter.