Understanding the Repair Before You Start
Drywall patches fail for one of two reasons: the wrong method was chosen for the hole size, or shortcuts were taken during application. Knowing which situation you're dealing with sets you up for a repair that stays invisible for years rather than cracking apart within months.
Holes generally fall into three categories:
- Small (under ½ inch): Nail holes, small anchor pull-outs, and hairline dents. These need only a lightweight spackling compound or setting-type joint compound.
- Medium (½ inch to about 4–5 inches): Doorknob dings, accidental impacts. These work best with a self-adhesive mesh patch kit or a California patch (a drywall-skin technique explained in the steps below).
- Large (over 5–6 inches): Fist-sized holes or damaged sections. These require a cut-out patch anchored to backer boards or drywall repair clips for proper support.
Before reaching for filler, check whether moisture caused or contributed to the damage. A damp or stained wall may signal a plumbing issue that needs attention first — see our article on spotting early leak warning signs before you seal anything over a potential moisture problem.
What you will need
Tools and Materials You'll Need
Having everything on hand before you start prevents half-dried compound and rushed decisions — both of which lead to poor results.
Putty knife or drywall knife (4–6 inch)
Applies and feathers joint compound smoothly across the repair area.
Self-adhesive mesh patch (for medium holes)
Provides a reinforcing base for joint compound over holes up to about 5 inches.
Drywall repair clips or backer boards (for large holes)
Creates a solid anchor point behind the wall to support a cut-in drywall piece.
Setting-type joint compound (dry mix)
Stronger first-fill coat for medium and large holes; shrinks less than pre-mixed compound.
All-purpose joint compound (pre-mixed)
Used for finish and feathering coats; sands easily for a smooth surface.
Drywall screws and drywall panel (for large holes)
Replacement drywall section cut to fit large openings and secured with screws.
Sanding sponge or 120-grit sandpaper
Smooths dried compound between coats and before priming.
Drywall primer
Seals the patched area so topcoat paint adheres evenly without flashing.
Step-by-Step Patch Instructions
Follow these steps in order. Resist the urge to rush the drying phases — as noted in our guide on rushed repairs that create bigger headaches, skipping dry time is the fastest way to end up doing the job twice.
Prepare the damaged area
Remove any loose paper facing, crumbled gypsum, or protruding drywall edges around the hole. Use a putty knife to scrape back to a clean, stable edge. For small nail holes, simply press in any raised paper. For larger holes, trim the edges square with a drywall saw so the opening has clean, defined borders.
Choose and install your backing (medium and large holes)
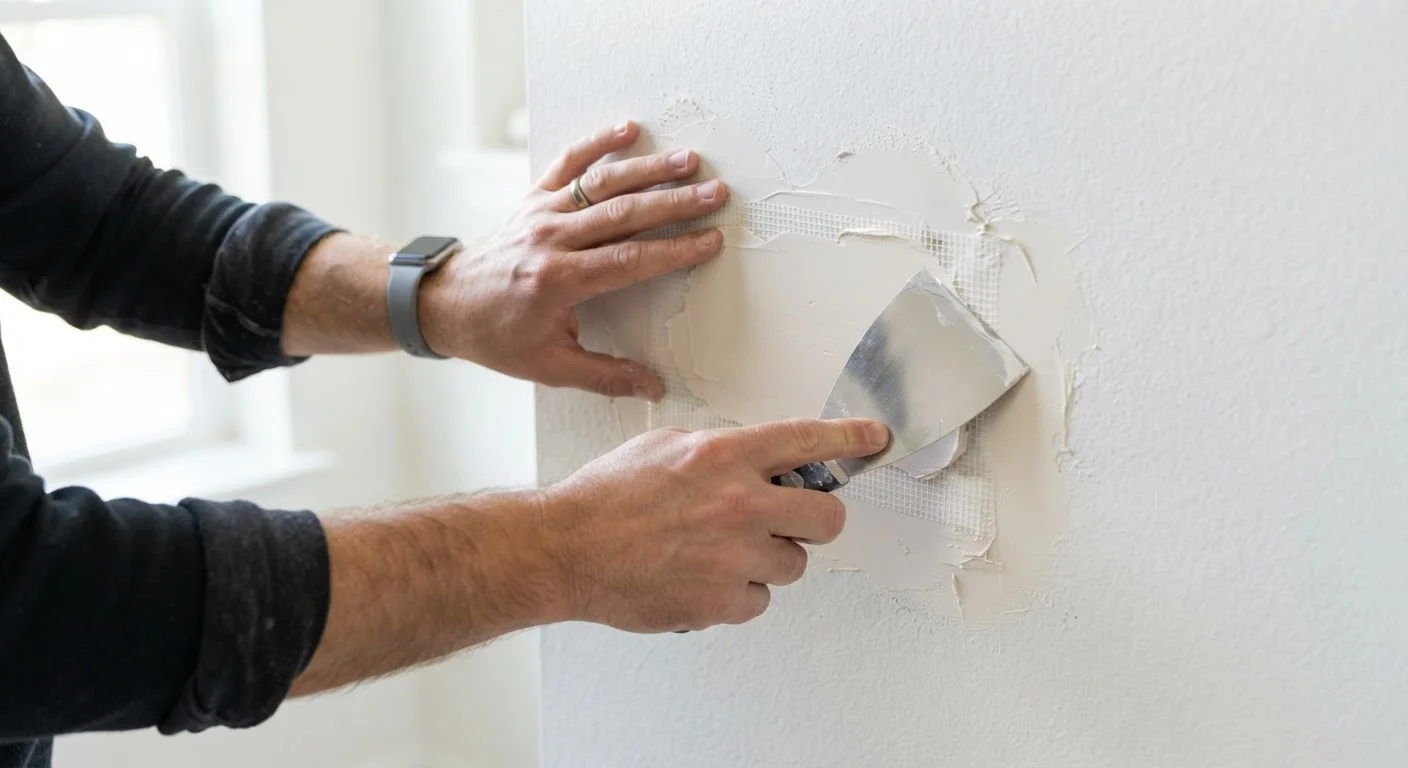
For holes between ½ inch and 5 inches, press a self-adhesive mesh patch firmly over the opening, centered on the hole. For holes larger than 5–6 inches: cut the opening into a clean rectangle, insert drywall repair clips on each side, screw them tight, then cut a matching drywall piece and screw it into the clips. Snap off the clip tabs once the patch is secure.
Apply the first coat of compound
For small holes, use a finger or putty knife to press lightweight spackling or all-purpose compound into the depression, slightly overfilling. For medium and large holes, use setting-type compound for this coat — mix it to a peanut butter consistency and press it firmly into and over the mesh or patch seams. Keep this coat thin (under ¼ inch). Let it dry completely — typically 24 hours for pre-mixed, less for setting-type.
Sand and apply additional coats
Once fully dry, lightly sand with 120-grit paper to knock down any ridges. Wipe away dust. Apply a second, wider coat of all-purpose compound, feathering the edges at least 4–6 inches beyond the patch perimeter. Let dry. For medium and large repairs, a third thin coat feathered even wider is almost always necessary for an invisible finish.
Final sand, texture match, prime, and paint
After the final coat dries, sand smooth with 120-grit, then finish with 150-grit for a silky surface. If your wall has texture, replicate it now using a spray texture can, stomp brush, or trowel technique before priming. Apply a coat of drywall primer to the entire patched area. Once the primer is dry, paint with your wall color — two coats typically achieves the best color match.
Feather Wide for an Invisible Repair
The secret professional finishers use is feathering — blending the compound edge out much farther than the hole itself. A patch 2 inches wide needs compound spread at least 8–10 inches wide by the final coat. The gradual taper makes it impossible to detect under paint. Rushing this step is what leaves that telltale halo on the wall.
Why Some Patches Fail — and How to Avoid It
The most common long-term failure points are not hard to avoid once you know what to watch for:
- Applying compound too thick in one coat. Thick applications shrink and crack as they dry. Three thin coats outperform one heavy one every time.
- Skipping primer. Unprimed joint compound absorbs paint unevenly, creating a flat, chalky spot — called flashing — that stands out in raking light even after multiple paint coats.
- Using the wrong product. All-purpose joint compound (pre-mixed) is fine for topping coats, but setting-type compound (the kind you mix with water) is stronger and shrinks less, making it better for the first fill coat on medium and large holes.
- Ignoring the wall texture. A smooth patch on a textured wall is just as visible as a cracked one. Match the existing texture — orange peel, knockdown, or skip-trowel — before painting.
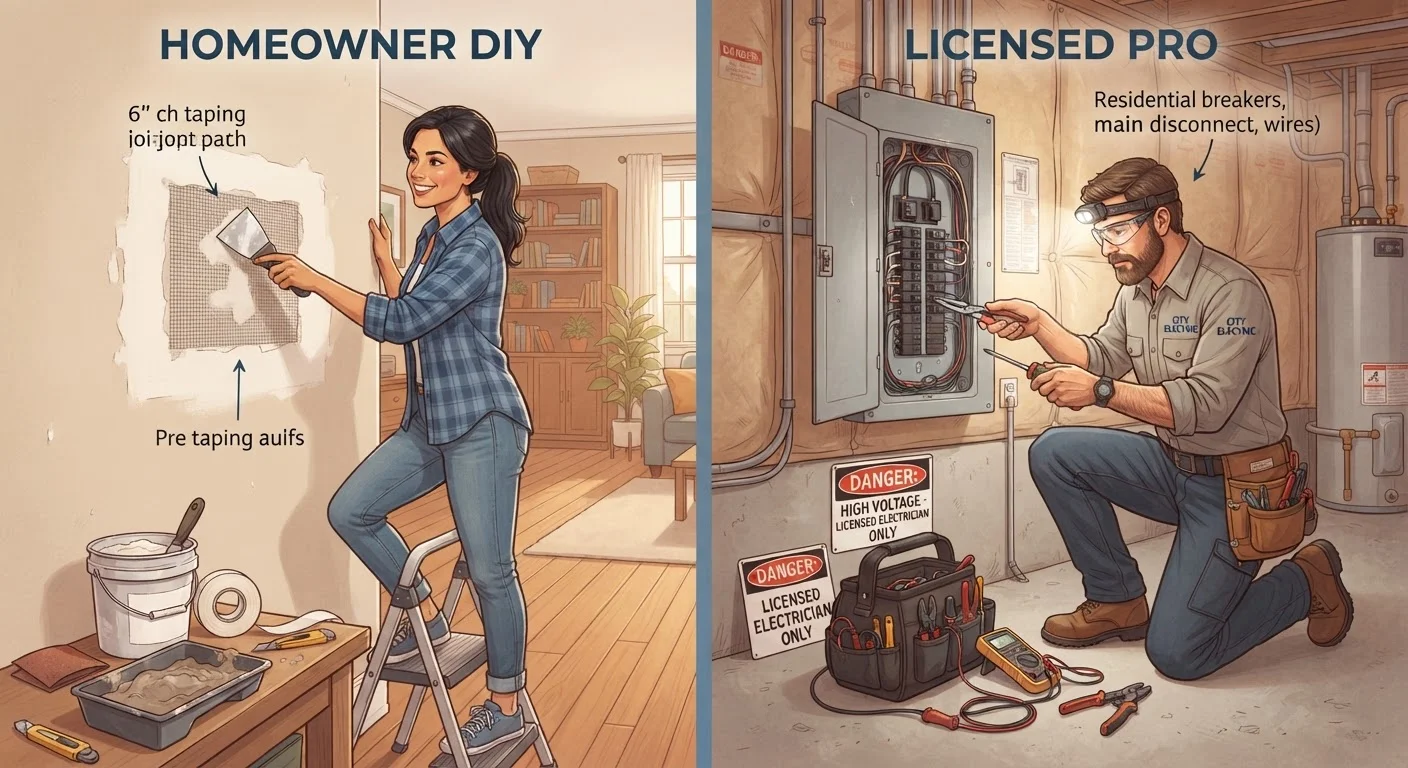
If you're weighing this repair against hiring out, our article on DIY repairs that save money can help you decide when it's worth the effort and when professional help makes more sense.
Check for Wiring and Plumbing Before Cutting
Before cutting into any wall for a large patch, use a stud finder with AC detection or a non-contact voltage tester to check for electrical wiring in the area. If you suspect plumbing runs nearby, proceed with extra caution. Cutting into live wiring or a supply line turns a simple patch job into a hazardous emergency. When in doubt, consult our guide on when to call a professional.