Why Readiness Matters More Than Enthusiasm
Most beginner DIY mistakes don't happen during the work itself — they happen in the ten minutes before it starts. Skipping a measurement, forgetting to cut the power, or launching into a tiled bathroom without the right adhesive: each of these costs time, money, and sometimes safety. This checklist is designed to catch those gaps before they become problems.
If you're just getting oriented, our first-timer's guide to home improvement is a useful starting point before you dive into project-specific prep. And if you're unsure which fixes are genuinely beginner-friendly versus which ones carry hidden risk, see our guide on DIY repairs that save money — and the ones that can cost more if done wrong.
Work through this checklist room by room, checking each item before you pick up a single tool.
Measuring tape
Accurately measure the space, materials, and clearances needed before cutting or purchasing anything.
Non-contact voltage tester
Confirm that electrical circuits in the work area are de-energized before touching any wiring or outlet.
Stud finder
Locate wall studs and hidden pipes or wiring before drilling or fastening into walls.
Safety goggles and work gloves
Protect eyes from debris and hands from splinters, sharp edges, and chemicals during any hands-on work.
Drop cloth or plastic sheeting
Protect flooring, furniture, and surfaces from dust, paint, or debris during the project.
Dust mask or respirator (N95 or higher)
Filter fine particles when sanding, cutting drywall, or working in areas with potential mold or insulation.
Pencil and notepad
Record measurements, sketch layouts, and keep a running list of materials needed mid-project.
Headlamp or work light
Illuminate enclosed spaces, under-sink cabinets, or dim corners where you need both hands free.
Universal Pre-Project Checks (Every Room)
These steps apply regardless of which room you're working in. Complete them first, every time.
Safety & Utilities
Space Preparation
Measurements & Materials
Kitchen-Specific Checks
Bathroom-Specific Checks
Living Areas & Bedrooms
Final Go / No-Go Check
When to Stop and Call a Professional
If at any point during prep you discover unexpected mold, structural damage, frayed wiring, or signs of a water leak inside walls, stop work immediately. These findings change the scope and safety profile of the project entirely. Attempting to work around hazardous conditions that require professional assessment can cause serious harm and significantly increase costs. Contact a licensed contractor, plumber, or electrician as appropriate before continuing.
Room-Specific Readiness: Kitchen, Bathroom, and Living Areas
Beyond the universal checks, each room type introduces its own set of hazards and considerations. Bathrooms involve moisture and mold risk; kitchens may have gas lines; living rooms often hide wiring inside walls. Work through the relevant section below before beginning.
Stop Before Working Near Electrical or Gas Systems
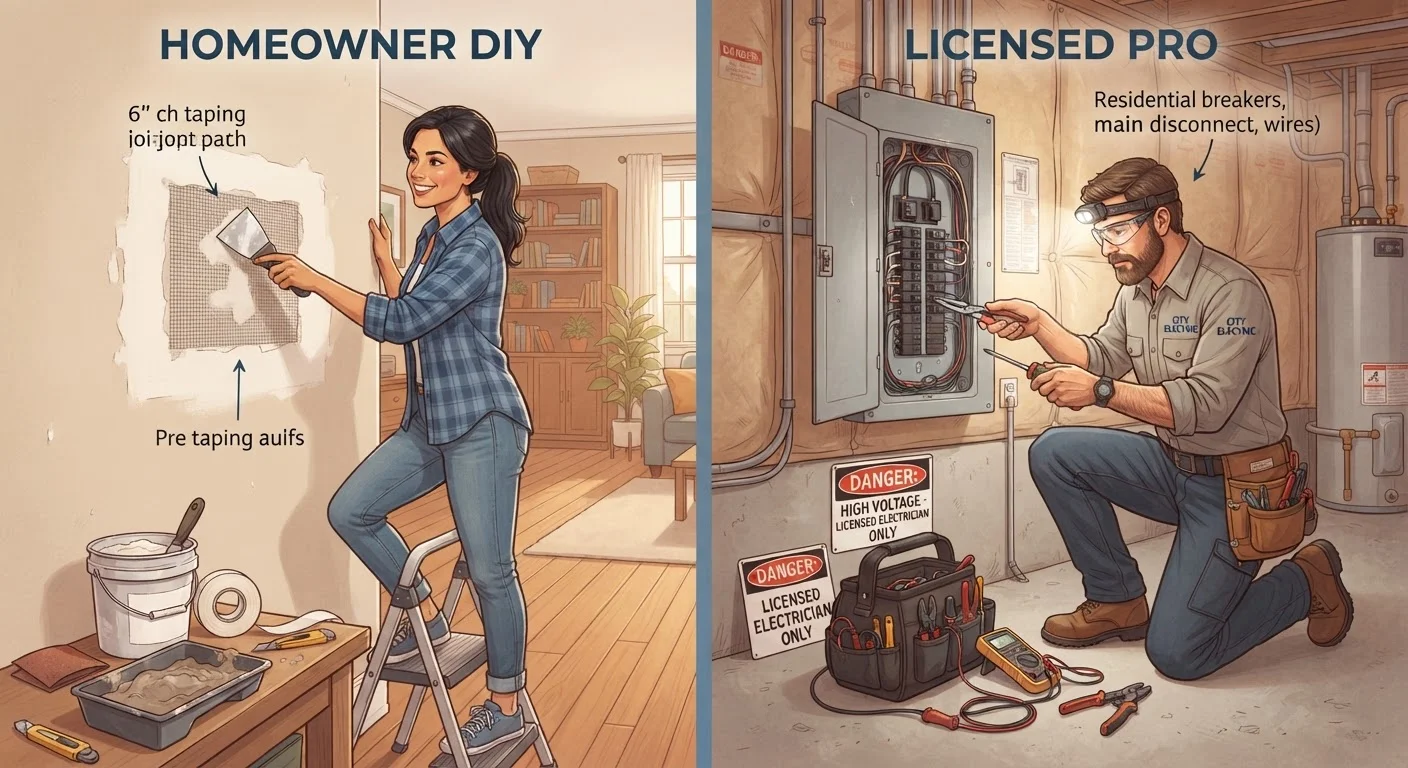
Any project that involves modifying wiring, adding new circuits, or touching gas lines requires a licensed electrician or plumber — not a checklist. Errors in these areas can cause fires, explosions, or electrocution. A non-contact voltage tester confirms power is off, but it doesn't make electrical work automatically safe or code-compliant. Always verify local permit requirements and engage a licensed professional for regulated work.
Lead Paint and Older Homes
Homes built before 1978 may contain lead-based paint. Sanding, drilling, or scraping painted surfaces in these homes can release hazardous dust. Do not proceed without first using an EPA-approved lead test kit or having a certified lead inspector assess the area. Follow all applicable EPA Renovation, Repair, and Painting (RRP) rule requirements if lead is present.
For ongoing maintenance checks that run parallel to project prep, the home maintenance guide for new homeowners covers the bigger picture of keeping your home in good shape year-round. And once you've finished a project, the room-by-room winterisation checklist is a natural follow-up to protect your work through colder months.
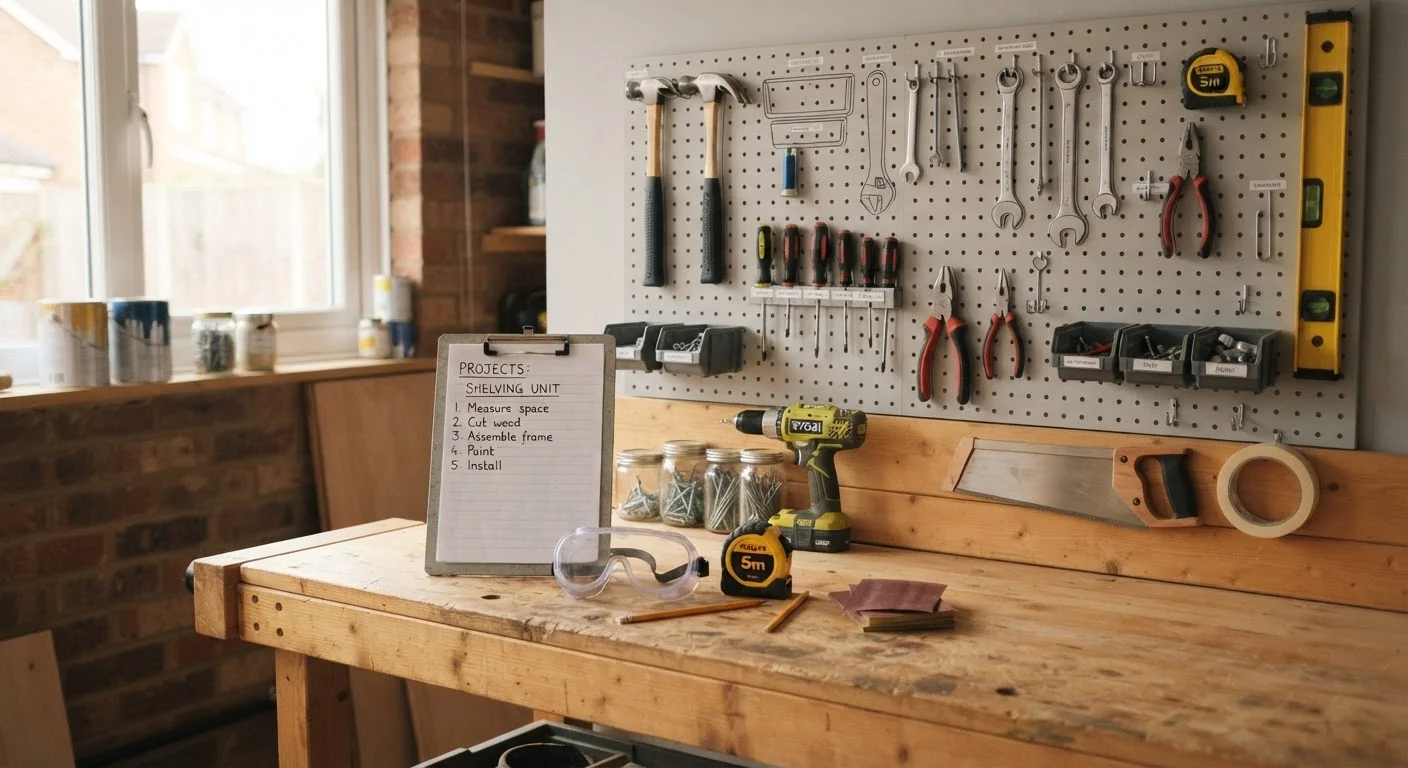
Not sure you have the right tools staged for the job? Our article on what DIY beginners get wrong about tools breaks down what actually belongs in a starter kit.