Why Prep Before You Plant?
Skipping the preparation phase is the single most common reason first-time gardeners end up disappointed. Seeds and transplants dropped into unprepared ground face compacted soil, poor drainage, nutrient deficiencies, and crowding — none of which are visible until it's too late to easily fix them. A little structured groundwork before your first seed goes in prevents most of those problems entirely.
This checklist walks you through four core areas: timing, soil readiness, tools, and your planting layout. If you want a broader foundation for how gardening works before diving in, our complete introduction to gardening is an excellent starting point. Once you've worked through this checklist, you'll be ready to plant with genuine confidence rather than hopeful guessing.
Timing & Planning
Soil Preparation
Tools & Supplies
Final Review Before Planting
Tools You'll Need to Get Started
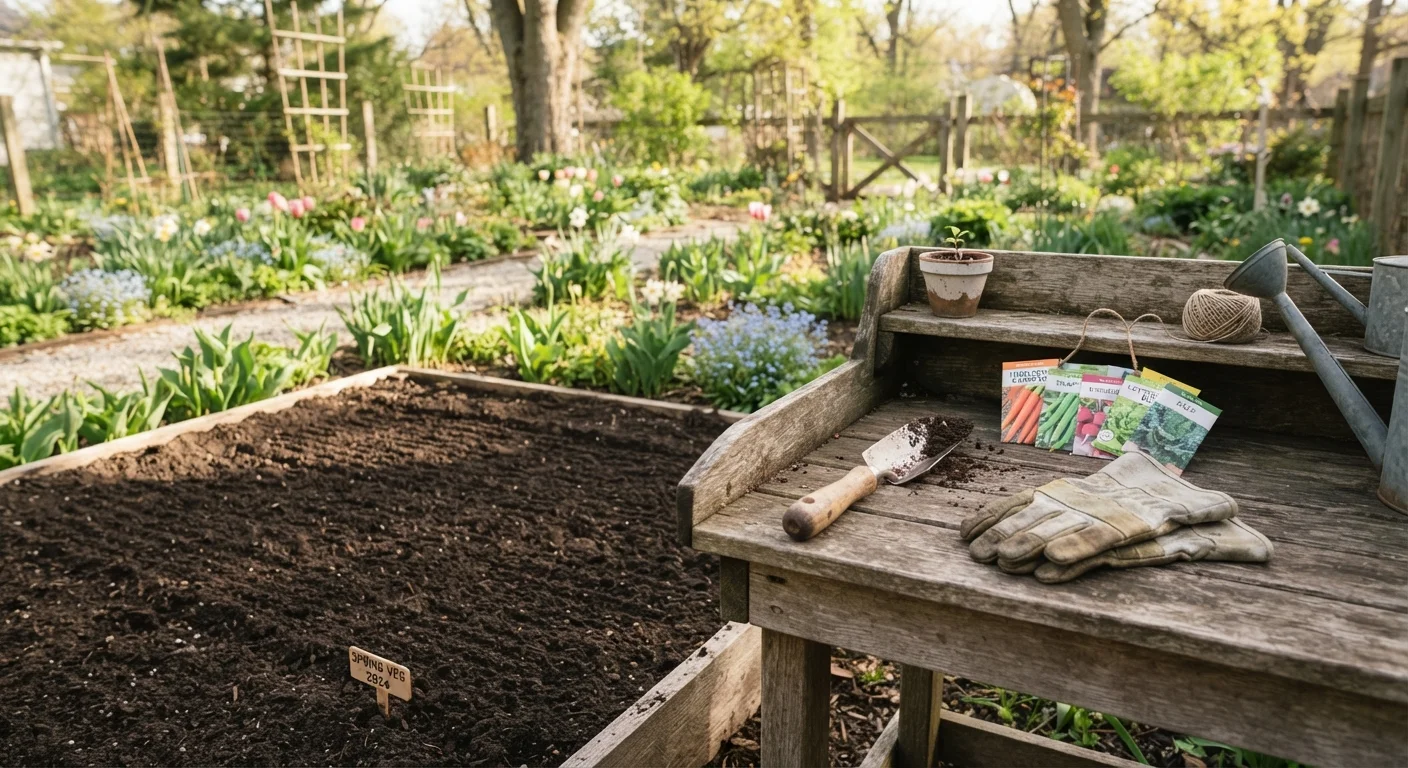
You don't need a shed full of gear to prep a garden well. A focused set of basic tools covers every item on this checklist without unnecessary expense.
Garden fork or spade
Loosens and turns compacted soil to the required depth for planting.
Soil pH test kit
Measures soil acidity so you know whether and how to amend before planting.
Hand trowel
Digs individual planting holes for seeds and small transplants.
Watering can or garden hose with adjustable nozzle
Delivers water gently to newly planted seeds and seedlings without displacing soil.
Measuring tape or garden ruler
Ensures accurate plant spacing as specified on seed packets.
Compost or aged organic matter
Amends soil structure and feeds beneficial microbes that support plant growth.
Garden gloves
Protects hands during soil work, weeding, and amendment mixing.
Plant stakes and labels
Marks planting zones and identifies varieties once seeds are in the ground.
For anything involving electrical garden equipment or work that may affect drainage infrastructure or underground utilities, always consult a licensed professional and check local permit requirements before proceeding.
Common Mistakes to Avoid
Even with a checklist in hand, a few pitfalls catch beginners off guard. The most frequent one is amending soil without testing it first — adding lime to already-alkaline soil, for example, can make conditions worse rather than better. Our guide on what kind of soil your garden actually needs explains how to read and respond to soil test results.
A second common error is underestimating spacing. Seed packets list spacing requirements for a reason — crowded plants compete for water and light, and poor airflow between them accelerates fungal disease. Draw your layout on paper before you start digging. Finally, don't overlook seasonal timing. Even a two-week planting error can mean losing seedlings to a late frost. Cross-reference your local cooperative extension service's frost date calendar before committing to a schedule.
Don't Skip the Frost Date Check
Planting warm-season crops like tomatoes or peppers before your area's last frost date can kill seedlings overnight, even if days feel warm. Frost risk doesn't always correlate with daytime temperatures. Always verify your local last frost date through a regional extension service or a reliable weather resource rather than going by feel.
Amend Only After Testing
Adding soil amendments without first testing your pH is a common and costly error. Over-liming soil that is already neutral, for example, can lock out nutrients like iron and manganese, making plants look deficient even when nutrients are physically present. Test first, amend second.
Garden prep shares a lot of logic with other home readiness tasks. If you enjoy the systematic approach here, our seasonal home maintenance calendar applies the same thinking to year-round property upkeep.
Never Work Wet Soil
Digging or tilling soil when it is waterlogged compacts and damages the fine soil structure that plant roots depend on. Squeeze a handful of soil — if it holds a shape and doesn't crumble when you poke it, it's still too wet to work. Wait 24–48 hours after heavy rain before proceeding with soil preparation.