Why Small Changes Make a Big Difference
A bathroom doesn't need a full gut renovation to feel completely different. The room's small scale actually works in your favor — a few targeted upgrades affect nearly every surface you see, making the impact proportionally large. The projects below are chosen because they address the most common reasons a bathroom feels dated, grimy, or cramped, and most are genuinely within reach for a careful first-timer.
Before picking up any tools, take a few minutes to review our DIY readiness checklist so you're not mid-project when you realize you're missing supplies.
Prep the Space Before You Start
Before tackling any bathroom project, shut off the water, switch off the relevant circuit breaker, and lay a drop cloth over surfaces you want to protect. Gathering all supplies before you begin prevents mid-project hardware runs that stall momentum. Our room-by-room readiness checklist covers exactly what to prepare.
Replace the faucet and drain cover
An old faucet crusted with mineral deposits or a corroded drain cover signals neglect the moment anyone walks in. Replacing them requires basic plumbing confidence — shutting off the water supply valves under the sink, disconnecting the supply lines, and following the new fixture's installation instructions. Most single-hole faucets are designed for straightforward installation with minimal tools.
Always close both hot and cold shut-off valves fully (turn clockwise) and run the faucet afterward to confirm the water is off before you begin. If the shut-off valves are stiff, corroded, or already leaking, stop and call a plumber rather than force them — that's a separate repair that needs professional attention.
Shutting off the water supply fully before starting is non-negotiable — confirm flow has stopped.
Upgrade the light fixture
Most bathrooms suffer from a single, yellowed overhead fixture that flattens shadows and makes the room feel smaller than it is. Replacing a vanity light bar with a fixture paired with daylight-spectrum bulbs (4000–5000K color temperature) creates a brighter, cleaner environment and makes the space feel more open.
Critical safety note: All bathroom fixtures must be rated for damp or wet locations depending on proximity to the shower or tub — check the fixture label before purchasing. If the replacement involves anything beyond swapping one fixture for another at the same junction box, hire a licensed electrician. Electrical work in wet areas carries serious safety and code requirements.
Daylight-spectrum bulbs in the right fixture make a small bathroom feel noticeably fresher.
Recaulk around the tub, sink, and toilet base
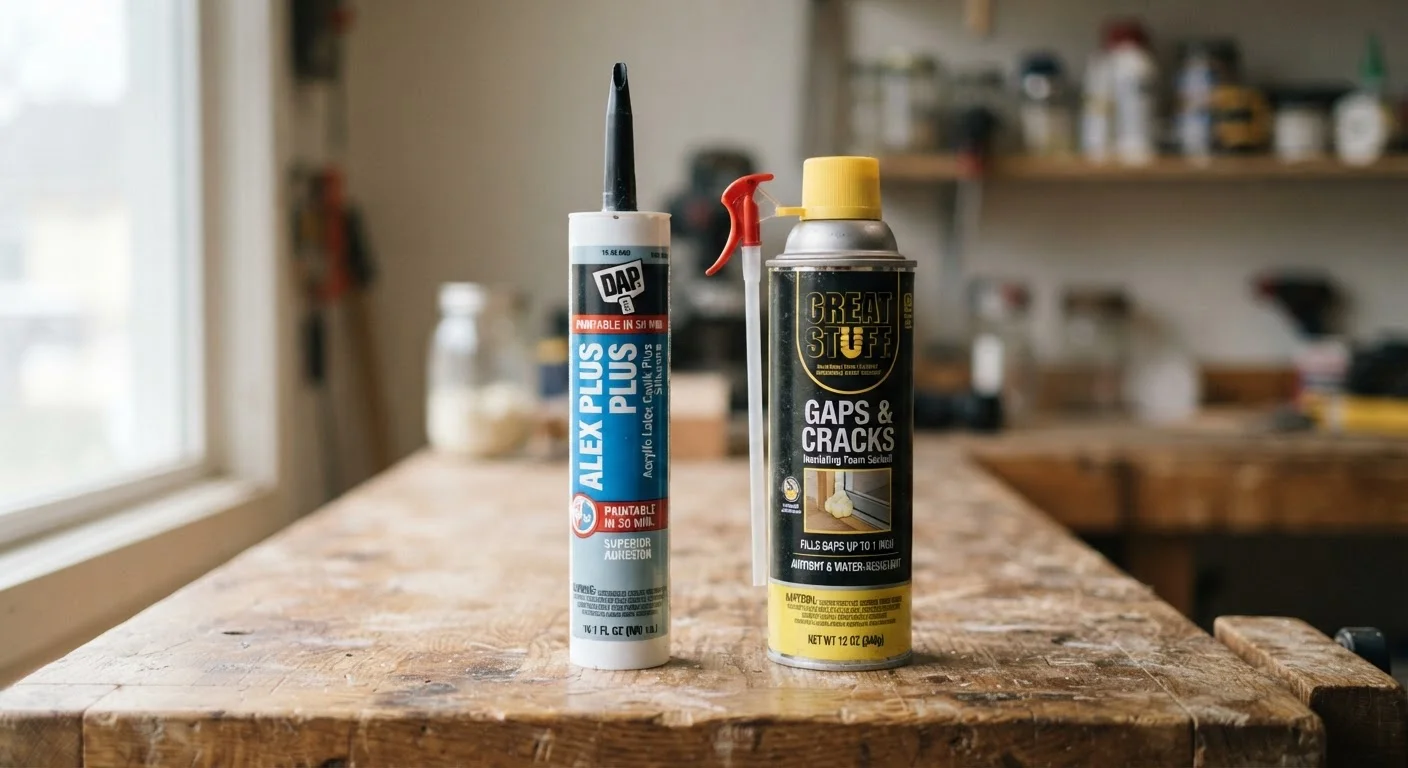
Caulk is the flexible sealant that seals gaps between surfaces. Over time it cracks, turns gray, or harbors mildew — and it shows. Removing the old caulk with a plastic scraper, cleaning the joint with rubbing alcohol, and applying a fresh bead of mold-resistant silicone caulk is one of the most cost-effective refreshes possible.
Let the new caulk cure fully before exposing it to water — check your product's label, but 24 hours is a common minimum. Rushing this step is exactly the kind of shortcut that creates bigger headaches later, as explored in our guide on rushed repairs that cause bigger problems.
Fresh caulk costs almost nothing but signals a well-maintained bathroom to anyone who notices it.
Regrout or deep-clean tile grout lines
Discolored grout is why bathrooms look dingy despite thorough scrubbing. Before replacing grout, try a dedicated grout cleaner and a stiff nylon brush — surface staining often responds surprisingly well. If grout is crumbling or missing in patches, use a grout saw to remove the damaged material and re-apply fresh grout: unsanded for wall tiles, sanded for floor tiles (the texture difference affects adhesion).
Once the new grout has cured, apply a grout sealer to block future moisture penetration. Sealing is the step most beginners skip — it's also the step that determines how long your work lasts.
Sealing grout after cleaning or regrouting is the step most beginners skip — it shouldn't be.
Upgrade the exhaust fan
An underpowered or noisy bathroom fan doesn't just annoy — it fails at its core job of removing moisture, which leads to mold, peeling paint, and damaged walls. Fan capacity is measured in CFM (cubic feet per minute). For a bathroom up to roughly 50 square feet, a minimum of 50 CFM is a common guideline; larger or enclosed spaces need more.
Many building codes require exhaust ventilation in bathrooms without operable windows — check your local requirements before starting. Replacing an existing fan housing in the same location is manageable for confident beginners, but if the wiring configuration is unclear, consult a licensed electrician rather than guess.
A properly sized exhaust fan protects every other improvement you make by controlling moisture.
Add a larger mirror and update cabinet hardware
A bigger or better-framed mirror adds visual depth and bounces light around a small room without any plumbing involved. Most mirrors mount with standard wall anchors — use anchors rated for your wall type, as drywall and tile require different hardware. Avoid over-torquing screws into tile; a cracked tile is harder to fix than it looks.
While you're working in the space, swap out cabinet knobs and drawer pulls. Matching finishes — brushed nickel, matte black, antique brass — across the mirror frame, hardware, faucet, and light fixture creates a cohesive look that reads as intentional design. For a structured approach to projects like this, see our first-timer's map to home improvement.
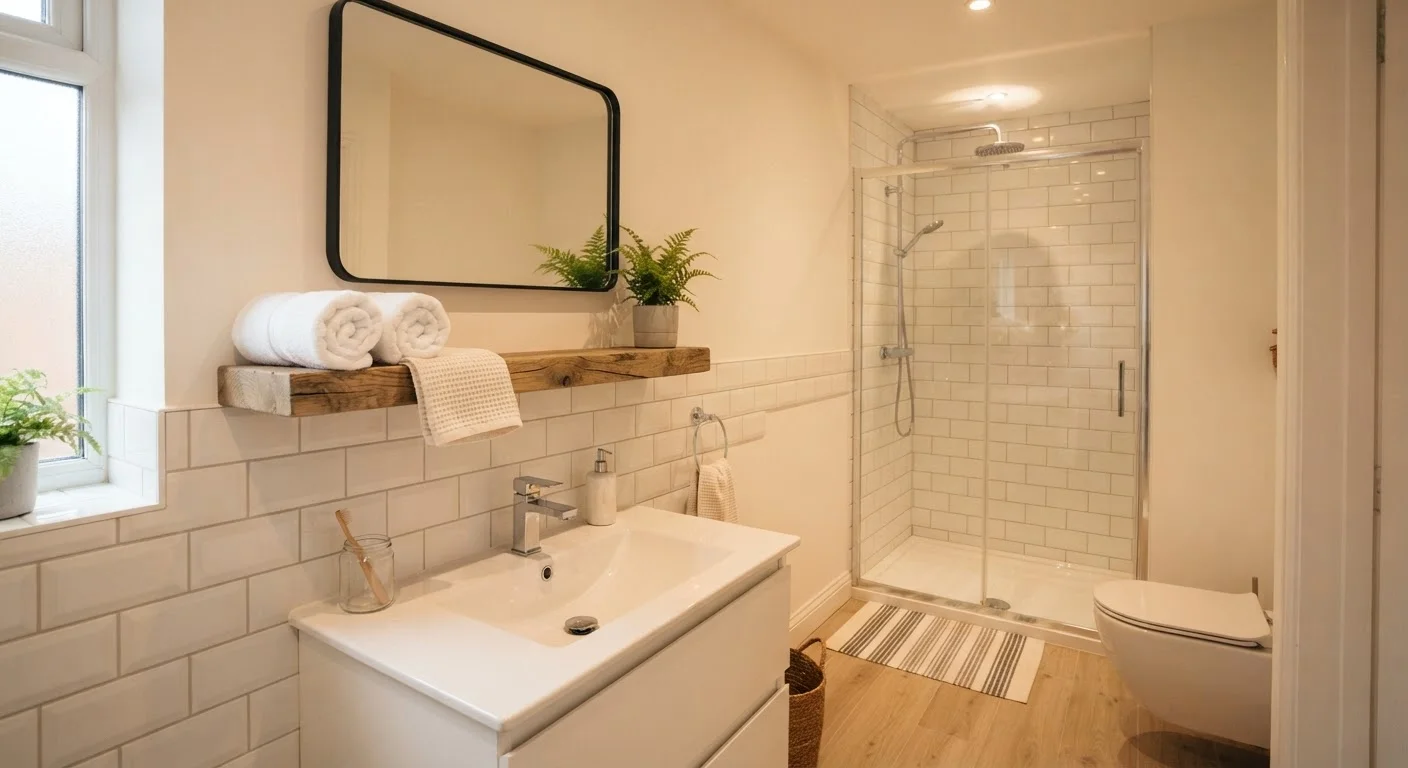
Matching metal finishes across fixtures and hardware creates cohesion that looks deliberate and polished.
Taking It Further Without Taking on Too Much
These six upgrades can be done independently or combined into a focused weekend project. Start with whichever feels most approachable — caulk and grout work, for example, require no special tools and deliver immediate visual results. Save electrical or plumbing swaps for when you're ready to move deliberately and safely.
Know When to Call a Professional
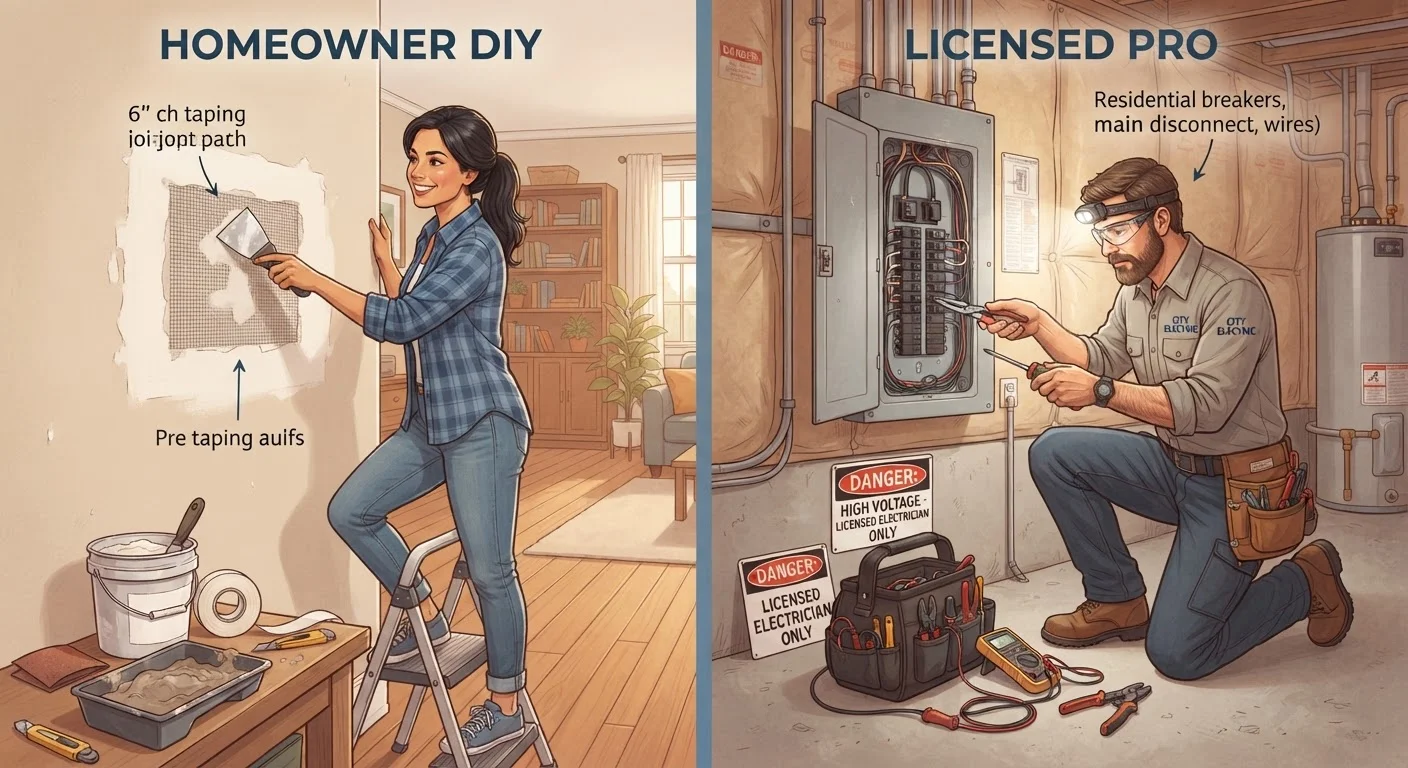
None of the projects described here typically require permits when done as outlined, but local codes vary. Work involving main water lines, structural elements, or electrical panels generally requires a licensed trade and local permits. When uncertain, contact your local building department before starting. New homeowners will also find broad guidance in our home maintenance essentials guide.
If you're building confidence across the home, not just in the bathroom, our guide to home maintenance essentials and the overview of which DIY repairs pay off are good next reads. The goal isn't to do everything at once — it's to make steady, informed improvements that last.