Why Gaps in Doors and Windows Matter
Most homes lose a meaningful amount of heated or cooled air through small gaps around doors and windows. These gaps — sometimes called air infiltration points — allow outside air to enter and conditioned indoor air to escape, making your heating and cooling systems work harder than they should. Beyond energy loss, draughts carry moisture, which can contribute to condensation and, over time, damp problems. Our guide on spotting early signs of home damage explains why small issues like these are worth addressing before they worsen.
Weatherstripping refers to any material applied to the moving parts of doors and windows — the sections that open and close — to seal gaps when they are shut. It differs from caulk or filler, which are used on static joints that never move. Getting the distinction right means your seal stays intact instead of cracking and peeling the first time you open the door.
The Candle or Hand Test for Draughts
On a cold, windy day, hold a lit candle or your damp hand close to door and window edges. Any flicker or chill indicates a draught worth sealing. Work systematically around the full perimeter — gaps often appear where you least expect them, such as at hinge points or the top corners of a frame.
For a broader approach to preparing your home before cold weather arrives, the room-by-room winterisation checklist pairs well with this guide. And if you're questioning whether draught-proofing older homes is even worth the effort, common home maintenance myths addresses that misconception directly.
What You'll Need
Gather your tools and materials before you start. Having everything to hand avoids mid-project trips and keeps adhesive surfaces clean while you work.
Measuring tape
Measure the perimeter of each door and window frame to calculate how much weatherstripping you need.
Scissors or utility knife
Cut weatherstripping materials cleanly to the correct length.
Cleaning cloth and rubbing alcohol
Degrease and clean surfaces so adhesive weatherstripping bonds properly.
Foam adhesive tape
Seal small to medium gaps on window frames and the top and sides of door frames.
V-strip (tension seal) weatherstripping
Fill narrow gaps along door edges and double-hung window channels where compression is needed.
Door sweep
Block the gap between the bottom of a door and the threshold, which is often the largest draught source.
Screwdriver
Attach screw-fixed door sweeps and adjust existing door hardware if needed.
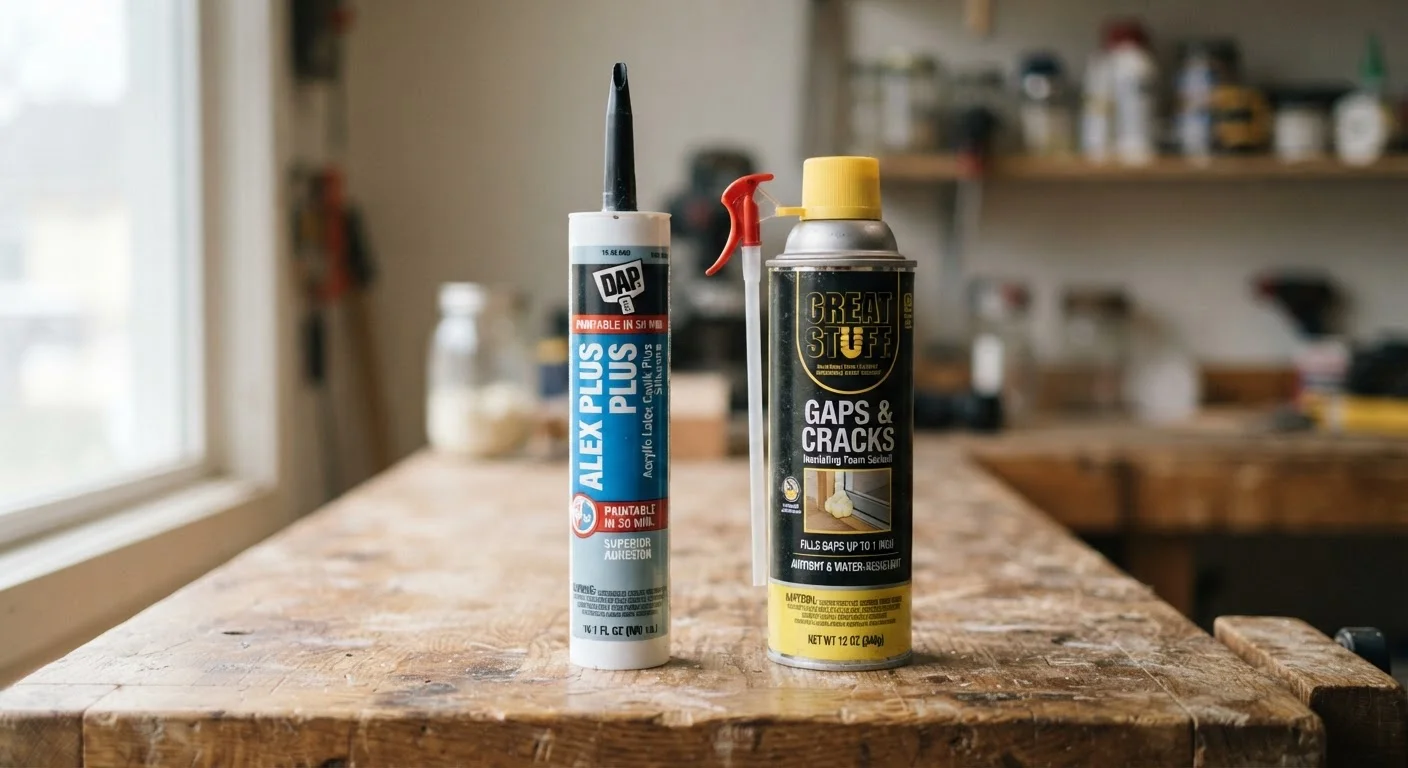
Silicone sealant and caulking gun
Fill gaps between window frames and the surrounding wall — not on moving parts.
What you will need
Don't Seal Out Ventilation
Sealing every gap in your home can restrict natural airflow and lead to condensation, mould, and poor indoor air quality. Kitchens, bathrooms, and rooms with gas appliances need adequate ventilation. Read our guide on home ventilation before blocking any intentional vents or air bricks.
Step-by-Step Installation
Follow these steps in order. Rushing surface preparation or skipping the test phase are the most common beginner mistakes — take your time on both.
Identify where draughts are entering
Before buying any materials, locate the actual gaps. On a cold, breezy day, move slowly around each door and window. Use your hand, a piece of tissue paper, or a candle flame held near — but not against — the frame edges. Mark any draughty spots with low-tack masking tape or a sticky note.
Common problem areas: the bottom of exterior doors, the sides and top of door frames where seals have worn away, and the meeting rail (where two sashes overlap) on older double-hung windows.
Choose the right weatherstripping type
Match the material to the gap and surface:
- Foam tape: Best for irregular or slightly large gaps on window frames and the top/sides of door frames. Compresses to fill the space when the door or window closes.
- V-strip (tension seal): A folded strip of plastic or metal that fits inside the channel where a door or sash slides. Long-lasting and unobtrusive once fitted.
- Door sweep: Attaches to the bottom interior face of a door to close the gap at the floor. Available in brush and rubber versions.
- Silicone caulk: Used on static gaps — the joint between a window frame and the surrounding wall — not on any moving parts.
Clean and prepare all surfaces
Remove all old weatherstripping. Peel adhesive-backed strips away slowly; use a plastic scraper if they resist. Clean the bare surface thoroughly with a cloth dampened with rubbing alcohol (isopropyl alcohol) to remove grease, dust, and old adhesive residue. Let it dry completely — at least 15–20 minutes — before applying new materials.
Measure and cut weatherstripping to length
Measure each section of the frame individually rather than relying on a single overall measurement — frames are rarely perfectly square. For door frames, measure the two sides (jambs) and the top (head) separately. Cut foam tape or V-strip to each length with scissors or a utility knife on a flat surface. For corners, cut at a 45-degree angle so the pieces meet neatly rather than overlapping.
Apply weatherstripping to door and window frames
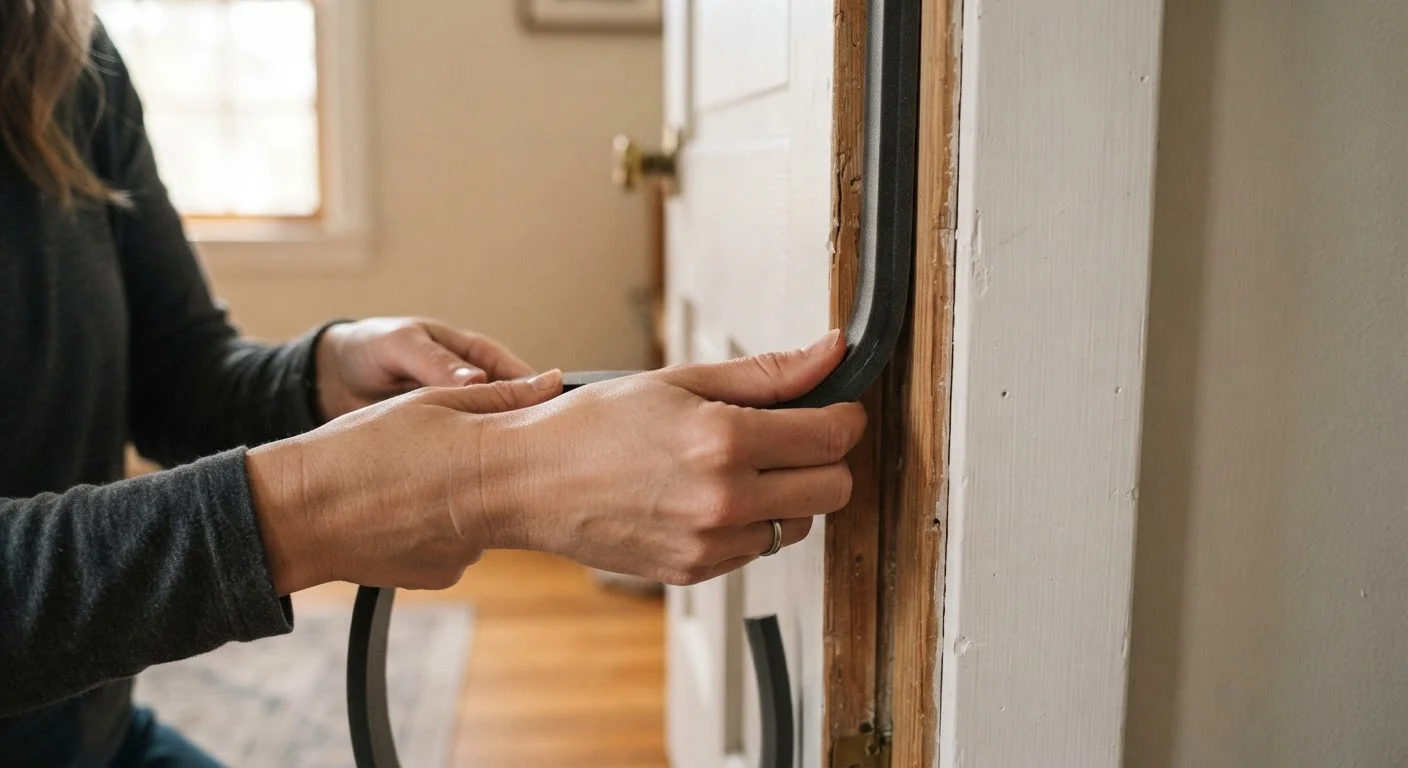
For self-adhesive foam tape: peel the backing from a short section at a time and press firmly along the stop bead — the raised strip the door or window closes against. Work steadily to avoid bubbles. Press each section firmly for 10–15 seconds.
For V-strip: fold it so the open side of the V faces outward, into the gap. Fit it into the channel and press or nail in place according to the manufacturer's guidance. Close the door or window slowly to check it seals without sticking.
For silicone caulk on static window gaps: cut the nozzle at a 45-degree angle, apply a steady bead along the gap, then smooth with a wet finger or caulking tool. Allow to cure fully before painting over it.
Fit a door sweep to the base of exterior doors
Hold the door sweep against the interior face of the door at the bottom, with the brush or rubber seal just touching the threshold. Mark the screw positions with a pencil. If necessary, trim the sweep to the door width with a hacksaw or heavy scissors. Pre-drill pilot holes to avoid splitting the door, then screw it into place. Open and close the door several times — it should move freely while the seal makes light contact with the floor.
Test your work and check for remaining gaps
Close each treated door and window and repeat the candle or hand test from Step 1. Pay particular attention to corners and joins. If you still feel air movement, press the weatherstripping more firmly or add a second layer of foam tape to build up the seal. Note any spots where the door or window now feels stiff to close — the material may be too thick for that section and may need to be replaced with a thinner option.
Test Before You Commit
Self-adhesive weatherstripping is very difficult to remove cleanly from painted or varnished wood without causing surface damage. Always test a small hidden section first, and confirm the surface is fully dry before applying the full length.