A Pan Is Never One Temperature
Most beginner cooks think of a hot pan as uniformly hot — set the burner, wait a minute, and the whole surface is ready. In practice, a pan behaves more like a landscape: peaks of intense heat directly over the flame, and cooler valleys toward the rim. Understanding this simple fact transforms how you approach the stove.
The physics are straightforward. Heat travels from the burner into the pan's base and then radiates outward. How far and how evenly it spreads depends on the pan's material and thickness. A heavy, well-seasoned cast iron skillet takes longer to heat up, but once hot it holds a relatively even temperature. A thin, cheap pan heats almost instantly at the center while the edges barely register a change.
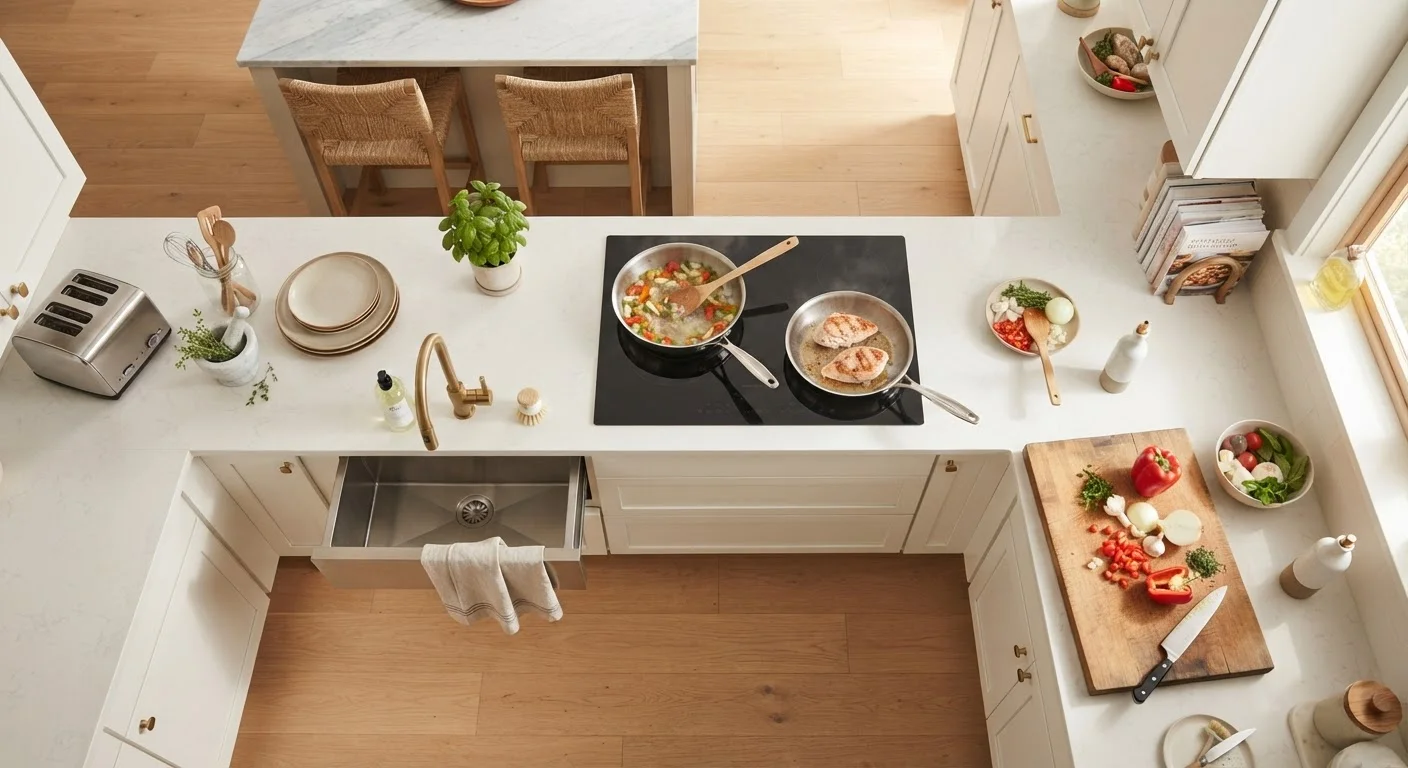
Understanding how your kitchen is organized is the first layer of cooking confidence — understanding how your pan behaves is the next.
~300°F
Minimum surface temp for Maillard browning
Food science references consistently cite around 280–330°F as the threshold at which the Maillard reaction begins to produce meaningful browning and flavor development.
2–3x
Temperature difference center vs. edge in thin pans
Culinary material science studies show that low-gauge pans can exhibit surface temperature differences of two to three times between the direct-heat center and the outer rim.
What Happens to Food at Different Heat Levels
Temperature doesn't just affect speed — it fundamentally changes what happens to food. Three heat levels produce three very different outcomes:
- Low heat (around 250–300°F at the surface): Proteins warm through gently. Fat renders slowly. Onions soften and sweeten without browning. This is the zone for delicate eggs, warming leftovers, or coaxing flavor out of aromatics.
- Medium heat (around 325–375°F): The workhorse zone. Vegetables cook through with some color. Pancakes brown evenly. Most everyday stovetop cooking happens here.
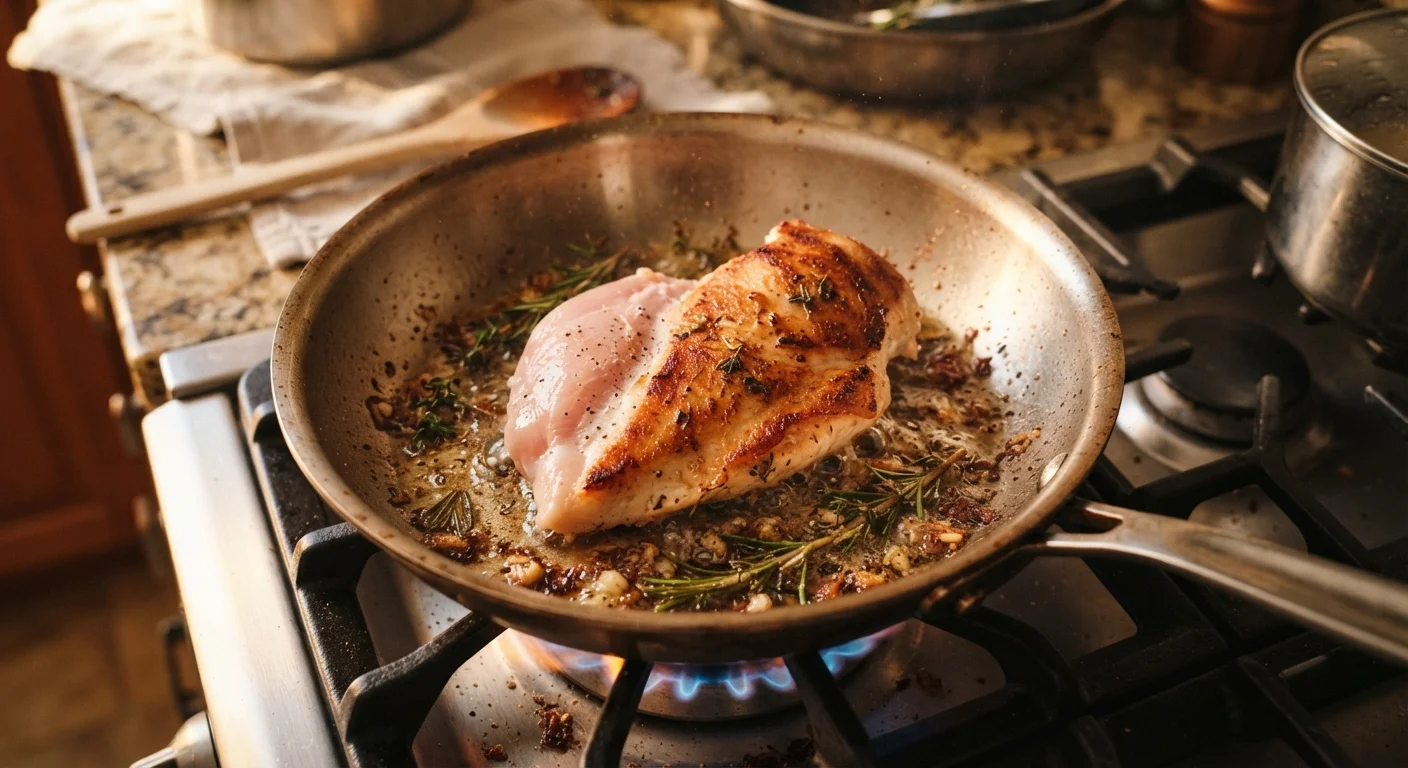
- High heat (400°F and above): This is where the Maillard reaction — the chemical process that creates that golden-brown, savory crust on meat and vegetables — kicks in. A steak dropped onto a scorching-hot pan will sear; the same steak in a lukewarm pan will steam and turn grey.
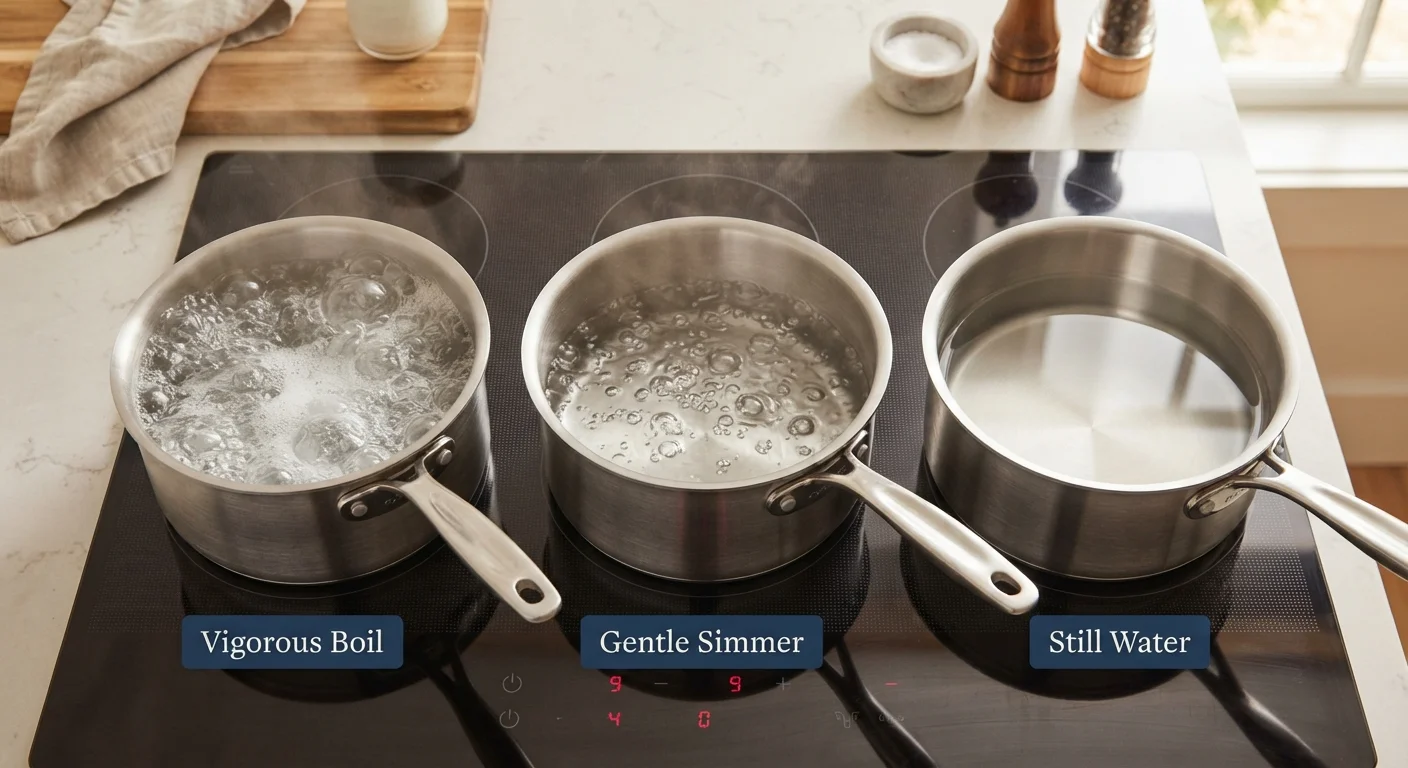
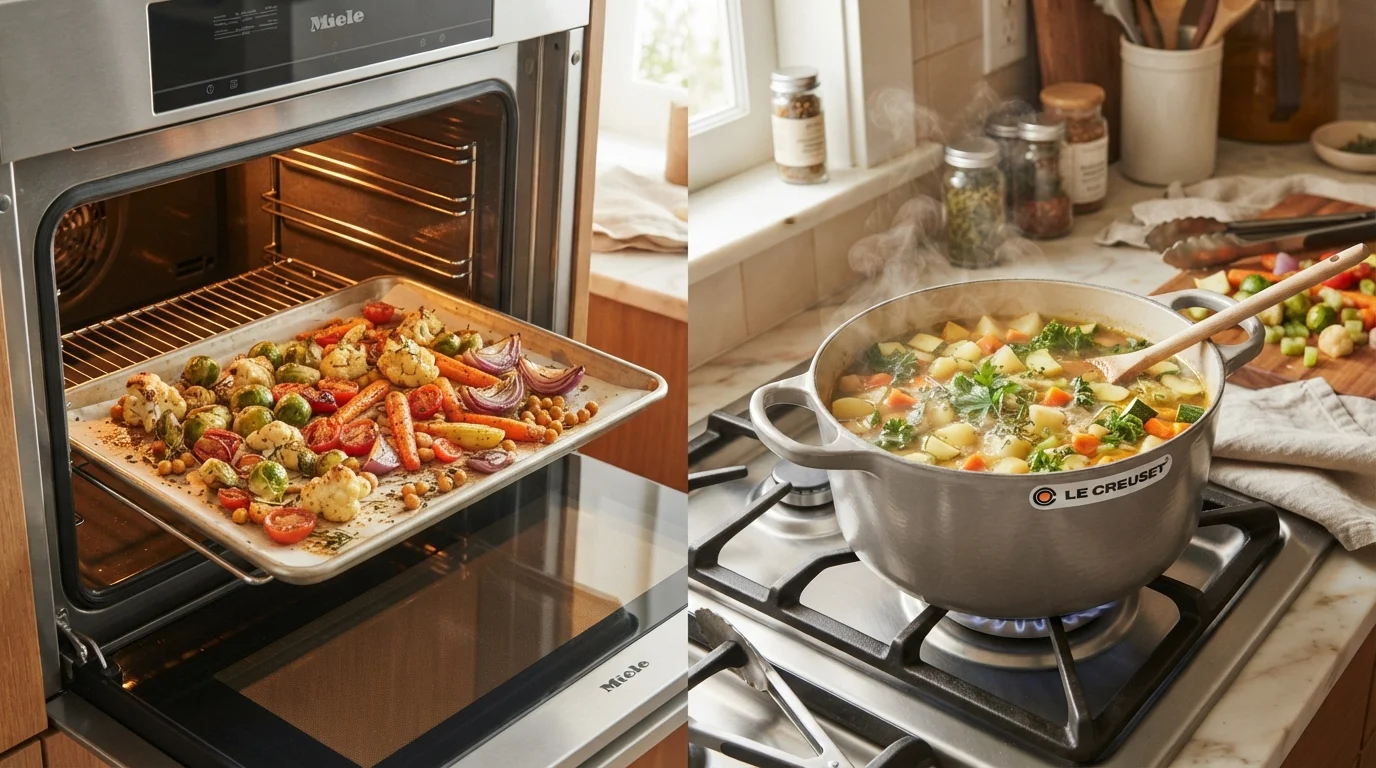
Dry heat versus moist heat methods each interact with these temperature zones differently, which is why matching the technique to the temperature matters so much.
Preheat Before You Add Anything
Place your pan over heat for 1–2 minutes before adding oil or food. To test readiness, hold your hand about 3 inches above the surface — you should feel clear radiant heat within a second or two. Adding food to a cold pan is one of the most common reasons proteins stick and vegetables steam rather than brown.
Using Heat Zones to Cook Smarter
Once you accept that your pan has zones, you can use them intentionally. Consider a thick pork chop: start it in the hot center to build a brown crust, then shift it toward the cooler edge to finish cooking through without charring the outside. This two-stage approach is behind much of professional stovetop cooking.
Similarly, if you're cooking several items at once, place the ones that need gentle treatment near the rim, and anything needing aggressive browning at the center. The pan becomes a range of cooking environments rather than a single, blunt instrument.
One of the most common beginner mistakes cuts directly against this principle: crowding the pan. When you add too much cold food at once, you drop the pan's overall temperature sharply and trap steam, which prevents browning entirely. Crowding the pan is one of several stovetop habits that quietly undermine results — even when everything else is done right.