
Why Visa Applications Trip People Up
For first-time international travellers, the visa process can feel like a maze with no map. The good news: most application delays are caused by a small set of predictable, avoidable mistakes. Understanding how the system works — and where it most often goes wrong — puts you firmly in control.
A visa is an official authorisation that permits you to enter, stay in, or transit through a foreign country for a specified purpose and duration. Some countries offer visas on arrival or visa-free entry for certain passport holders; others require full advance applications. The key is knowing which rules apply to your passport and your trip before you do anything else.
Always Verify Requirements Officially
Visa rules change frequently and vary significantly by nationality, destination, and purpose of travel. Never rely solely on travel blogs or third-party booking sites for entry requirements. Always confirm the latest rules directly with the destination country's official embassy, consulate, or government immigration website before submitting your application.
Once you've confirmed you need a visa, time becomes your most important resource. Processing times are not guaranteed, and applications during busy travel seasons can take longer than usual. Building in a comfortable buffer — ideally 6–8 weeks before departure — protects you from being caught out.
What You'll Need Before You Start
Before filling out a single form, gather your tools and check the basics.
What you will need
Official Embassy or Consulate Website
The authoritative source for your specific visa category, required documents, and current processing fees.
Passport Photos (correct specification)
Most visa applications require recent photos meeting strict size, background, and format requirements unique to each country.
Certified Document Translations
If supporting documents are not in the destination country's official language, certified translations are typically required.
Secure Digital Storage (cloud or USB)
Storing backup copies of all submitted documents protects you if originals are lost or resubmission is needed.
With these in hand, you're ready to move through the process systematically. Follow the steps below, and use the checklist tip to stay organised throughout.
Build a Personal Document Checklist
Create a simple checklist specific to your destination and visa type — then photocopy or scan every document before submission. Keep digital backups in a secure cloud folder. If anything goes missing or needs resubmission, having organised copies saves significant time and stress.
Step-by-Step: Submitting Your Application
Identify the correct visa category
Not all visas are the same. Tourism visas, business visas, student visas, and transit visas each carry different rules, fees, and document requirements. Visit the official embassy or consulate website for your destination country and identify the visa type that matches your exact travel purpose. Applying for the wrong category is a surprisingly common mistake that results in outright refusal, not just delay.
Check your passport validity and photos
Confirm that your passport is valid for at least six months beyond your return travel date — many countries enforce this strictly. Also check that you have enough blank pages for entry and exit stamps. Order passport photos that meet the destination country's precise specifications (size, background colour, and recency requirements vary widely).
Gather your supporting documents
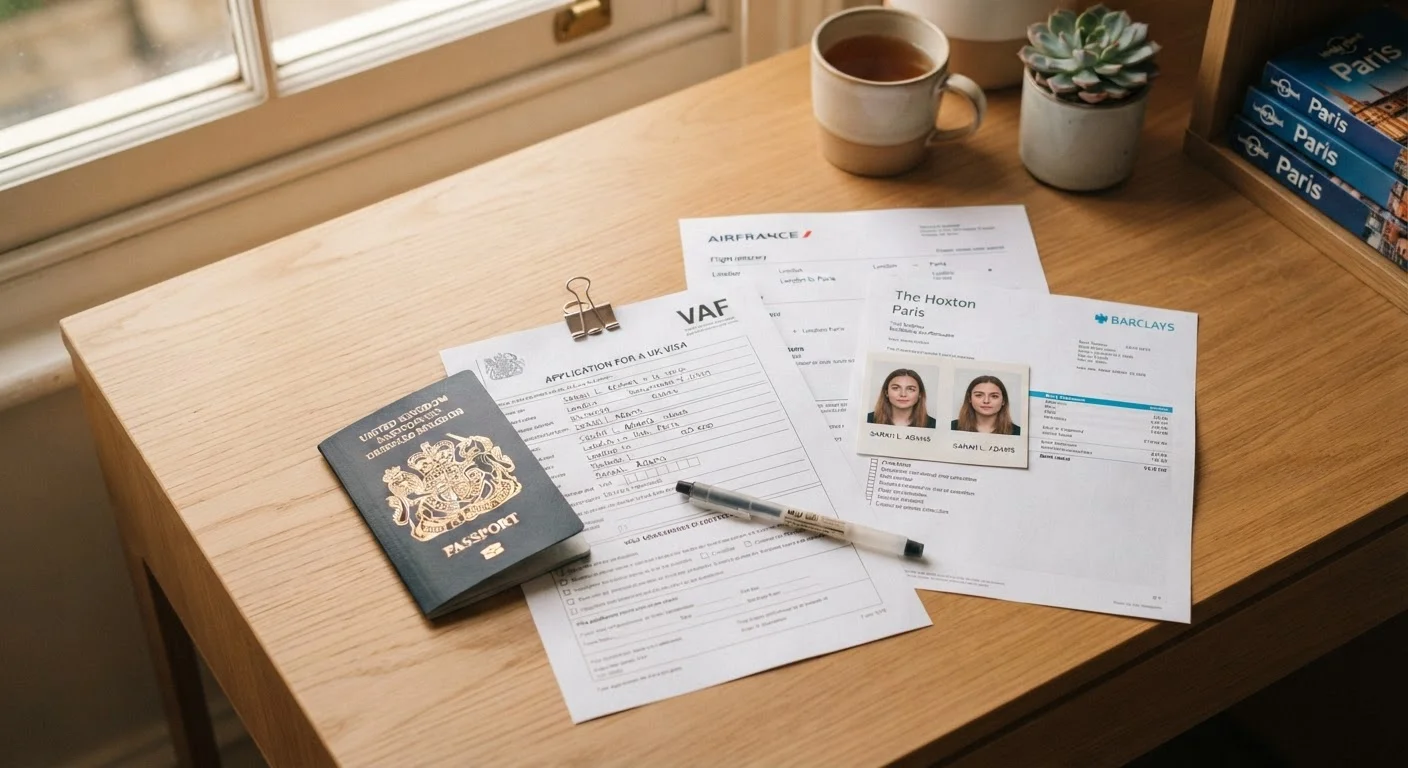
Most visa applications require a core set of supporting documents. These typically include:
- Proof of accommodation — hotel bookings, rental agreements, or a host's invitation letter
- Proof of sufficient funds — recent bank statements (usually the last 3 months)
- Confirmed travel itinerary — flight bookings or a detailed travel plan
- Travel insurance — many destinations require coverage meeting a minimum value
- Purpose-specific documents — such as a business invitation letter or university acceptance letter
Collect originals where required and prepare clear photocopies of everything.
Complete the application form carefully
Fill in every field of your visa application form accurately and consistently. Dates, names, and addresses must match exactly across all documents — discrepancies between your application form and your passport or bank statements are one of the most common reasons applications are delayed or refused. Double-check spellings of names and locations before submitting.
Submit and track your application
Submit your application through the official channel — this may be an online portal, a visa application centre, or directly at the consulate. Pay the required fee and retain your receipt. Make note of your application reference number and use it to track progress. Processing times vary from a few days to several weeks depending on the country and visa type, which is why applying 6–8 weeks in advance is strongly advised.
Passport Expiry Can Derail Your Trip
Many countries require your passport to be valid for at least six months beyond your planned departure date — not just your arrival date. Check this well in advance. Passport renewals can take several weeks, so factor in renewal time before you even begin a visa application.
After You Apply: Staying Prepared
Once your application is submitted, resist the urge to book every element of your trip as confirmed. Keep an eye on your application status and respond promptly to any requests for additional information — delays often compound when applicants are slow to reply.
If your visa is approved, review it carefully when it arrives. Check the validity dates, permitted length of stay, and any entry conditions (some visas allow only a single entry; others permit multiple entries). Travelling on a visa that doesn't match your actual itinerary can create serious complications at the border.
Once your travel documents are in order, it's worth turning your attention to practical safety planning — including how you'll manage your money abroad. Our guide on keeping your money safe while travelling covers cards, cash, and the financial scams most commonly targeting tourists.
This article provides general travel information only. Visa rules, entry requirements, and processing times change frequently. Always verify current requirements directly with the relevant embassy, consulate, or official government immigration authority before making any travel arrangements.