Why Order Actually Matters
Skincare products are formulated to perform specific jobs — cleansing, treating, hydrating, or protecting. When you apply them out of sequence, earlier layers can physically block later ones from reaching the skin, or active ingredients can interact in ways that reduce their effectiveness. The general principle is straightforward: go from thinnest to thickest consistency. Lightweight, water-based products penetrate more easily and should go on clean skin first. Heavier creams and oils form a seal and belong at the end.
This logic also reflects ingredient chemistry. Many treatment ingredients — such as vitamin C or retinoids — need direct skin contact to work. Applying them over a thick moisturizer diminishes how much actually absorbs. If you have sensitive or reactive skin, layering order also affects how well you can identify the source of any irritation — see our guide to building a routine for sensitive skin for more on that approach.
The Thin-to-Thick Rule Is Your Anchor
When in doubt about where any product belongs, feel its texture. Water-thin toners and light serums go first; dense creams and face oils go last. This single rule resolves most layering questions without needing to memorize every ingredient.
What You Need Before You Start
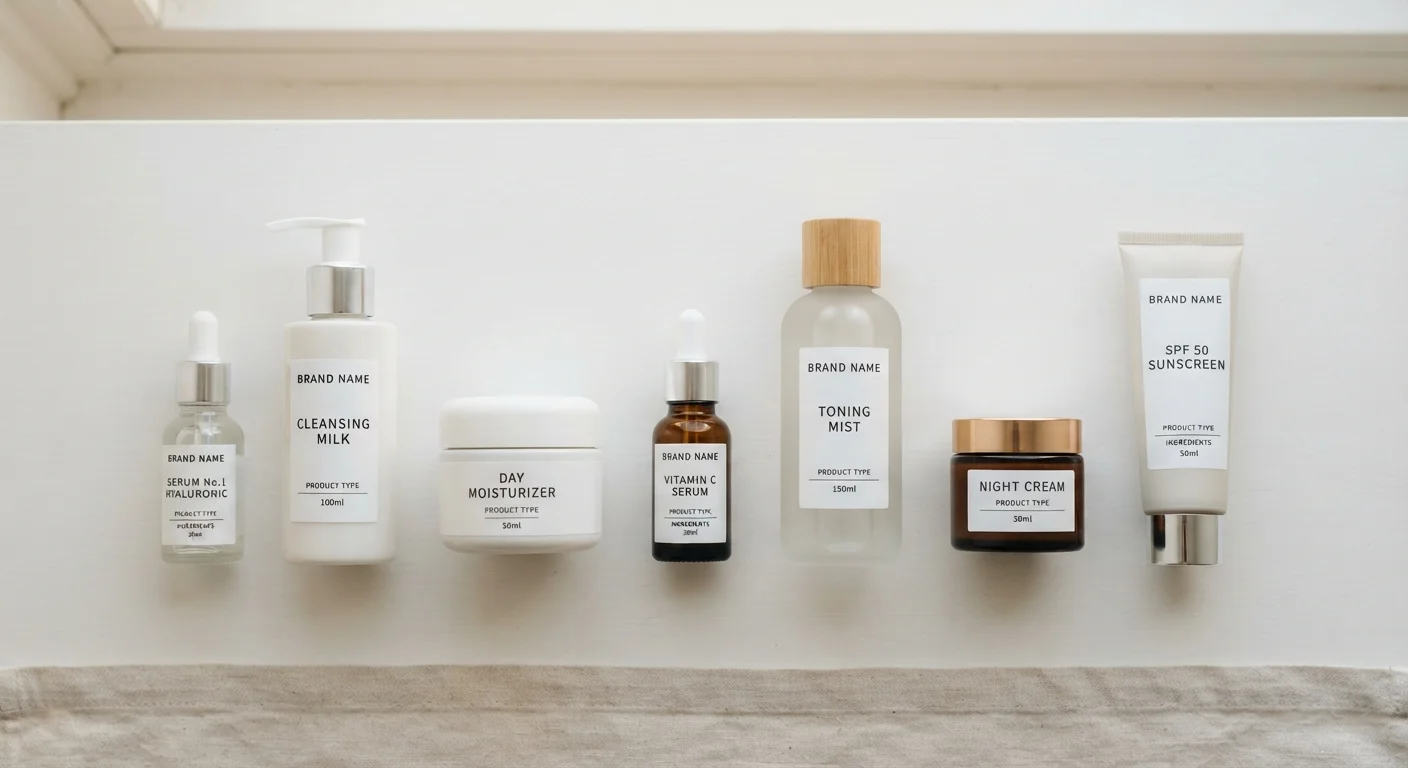
You do not need a large collection of products to follow a proper layering routine. Start with the essentials, then add steps only if your skin calls for it. Keep in mind that more products do not always mean better results — a shorter, well-ordered routine is often more effective.
What you will need
Step-by-Step Layering Instructions
Follow these steps in the order listed. For a morning routine, all steps apply. For an evening routine, skip sunscreen (step 6) and consider adding a retinoid or richer night cream at the treatment stage if appropriate for your skin.
Cleanse your face
Wash your face with a gentle cleanser to remove makeup, excess oil, sweat, and environmental residue. This clears the surface so every subsequent product can make direct contact with your skin. Pat — do not rub — dry with a clean towel, leaving skin slightly damp.
Apply toner (if using one)
Toners are optional but can serve several purposes: restoring the skin's natural pH after cleansing, delivering a first layer of hydration, or preparing the skin for actives. Apply to a cotton pad or press gently into skin with clean hands. Allow it to absorb fully before moving on.
Apply treatment serums
Serums are concentrated formulas targeting specific concerns — brightening, hydration, acne, or signs of ageing. They have small molecules designed to penetrate deeply. Apply the thinnest serum first. If using more than one, allow each to absorb for about 30 seconds before applying the next. Use only a few drops; a little goes a long way.
Apply eye cream (if using one)
The skin around the eye area is thinner and more delicate than the rest of the face. Eye creams are typically formulated to be gentler and more targeted. Use your ring finger — it applies the least pressure — to tap a small amount along the orbital bone, not directly on the eyelid.
Apply moisturizer
Moisturizer seals in the active ingredients applied underneath and reinforces the skin's moisture barrier. Choose a texture suited to your skin type: lighter gels for oilier skin, richer creams for dry skin. Apply in gentle upward strokes across the full face and neck.
Apply sunscreen (morning only)
Sunscreen is the final step in a daytime routine and among the most important for long-term skin health. Apply a broad-spectrum SPF 30 or higher product generously to the face and any exposed areas. Allow it to settle for a minute or two before applying makeup on top.
Common Layering Mistakes to Avoid
Even with the right products, a few common errors can undermine your routine.
- Applying oil before water-based serums: Oils are occlusive — they form a barrier that prevents water-based products from absorbing. Always finish with oil, not start with it.
- Skipping wait time after actives: Some ingredients, particularly exfoliating acids (AHAs and BHAs), benefit from a brief 30-second to one-minute pause before the next layer goes on.
- Using sunscreen as a base under makeup without moisturizer: Sunscreen is a last step, not a primer. Apply moisturizer first, allow it to settle, then apply sunscreen. For a full explanation of why sunscreen belongs at the end, see our article on why sunscreen is the most important skincare step.
Some Ingredient Combinations Need Care
Certain active ingredients are known to interact poorly when layered directly on top of each other. For example, combining strong exfoliating acids with retinoids in the same routine step can increase the risk of irritation. If you are new to actives, introduce one at a time and consider alternating them on different evenings rather than stacking them in a single session.
This article is for general informational purposes only and is not a substitute for professional dermatological advice. If you experience persistent skin reactions, consult a qualified healthcare provider or dermatologist.